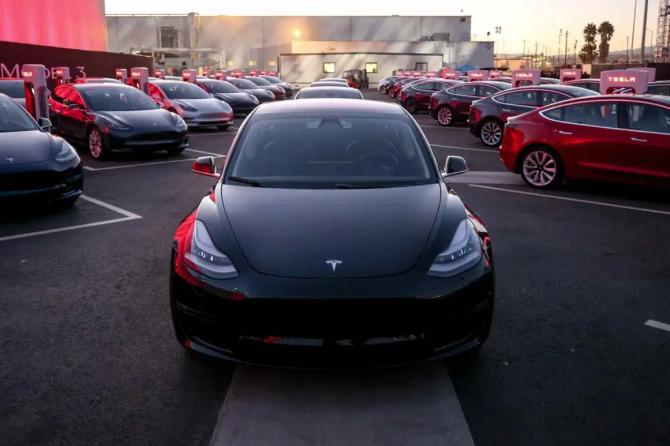
The Tesla Wall Connector is the best value-for-money home EV charging solution on the market, and Tesla has made it better by allowing owners to add it to their mobile app for improved functionality. This is something that was first seen in the code of the mobile app over a year ago, but is only now being introduced in certain markets.
The option to add the Wall Connector to your mobile app is currently in a limited pilot release and only available for owners in Canada and Australia, but it is expected to launch to more countries soon, according to mobile app developed Alex Guichet on X. It is also only available for the latest Gen 3 Wall Connector as this is the only version that comes with Wi-Fi capability.
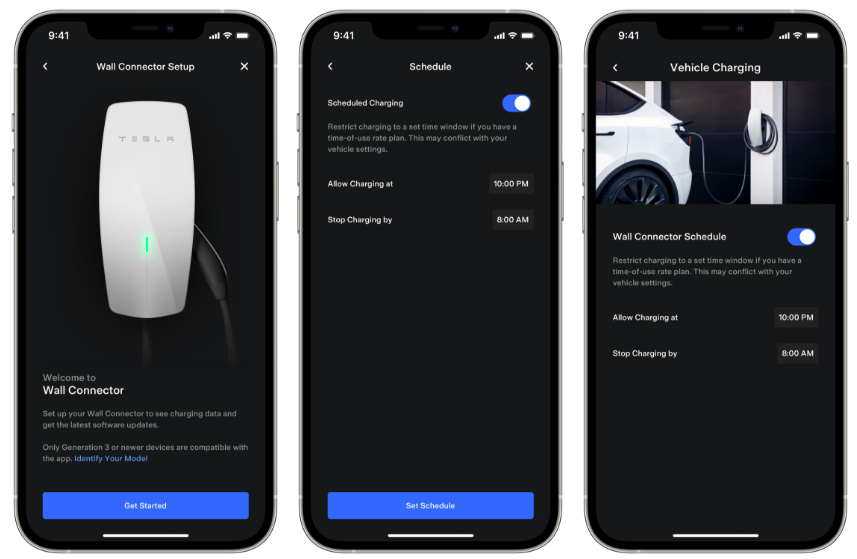
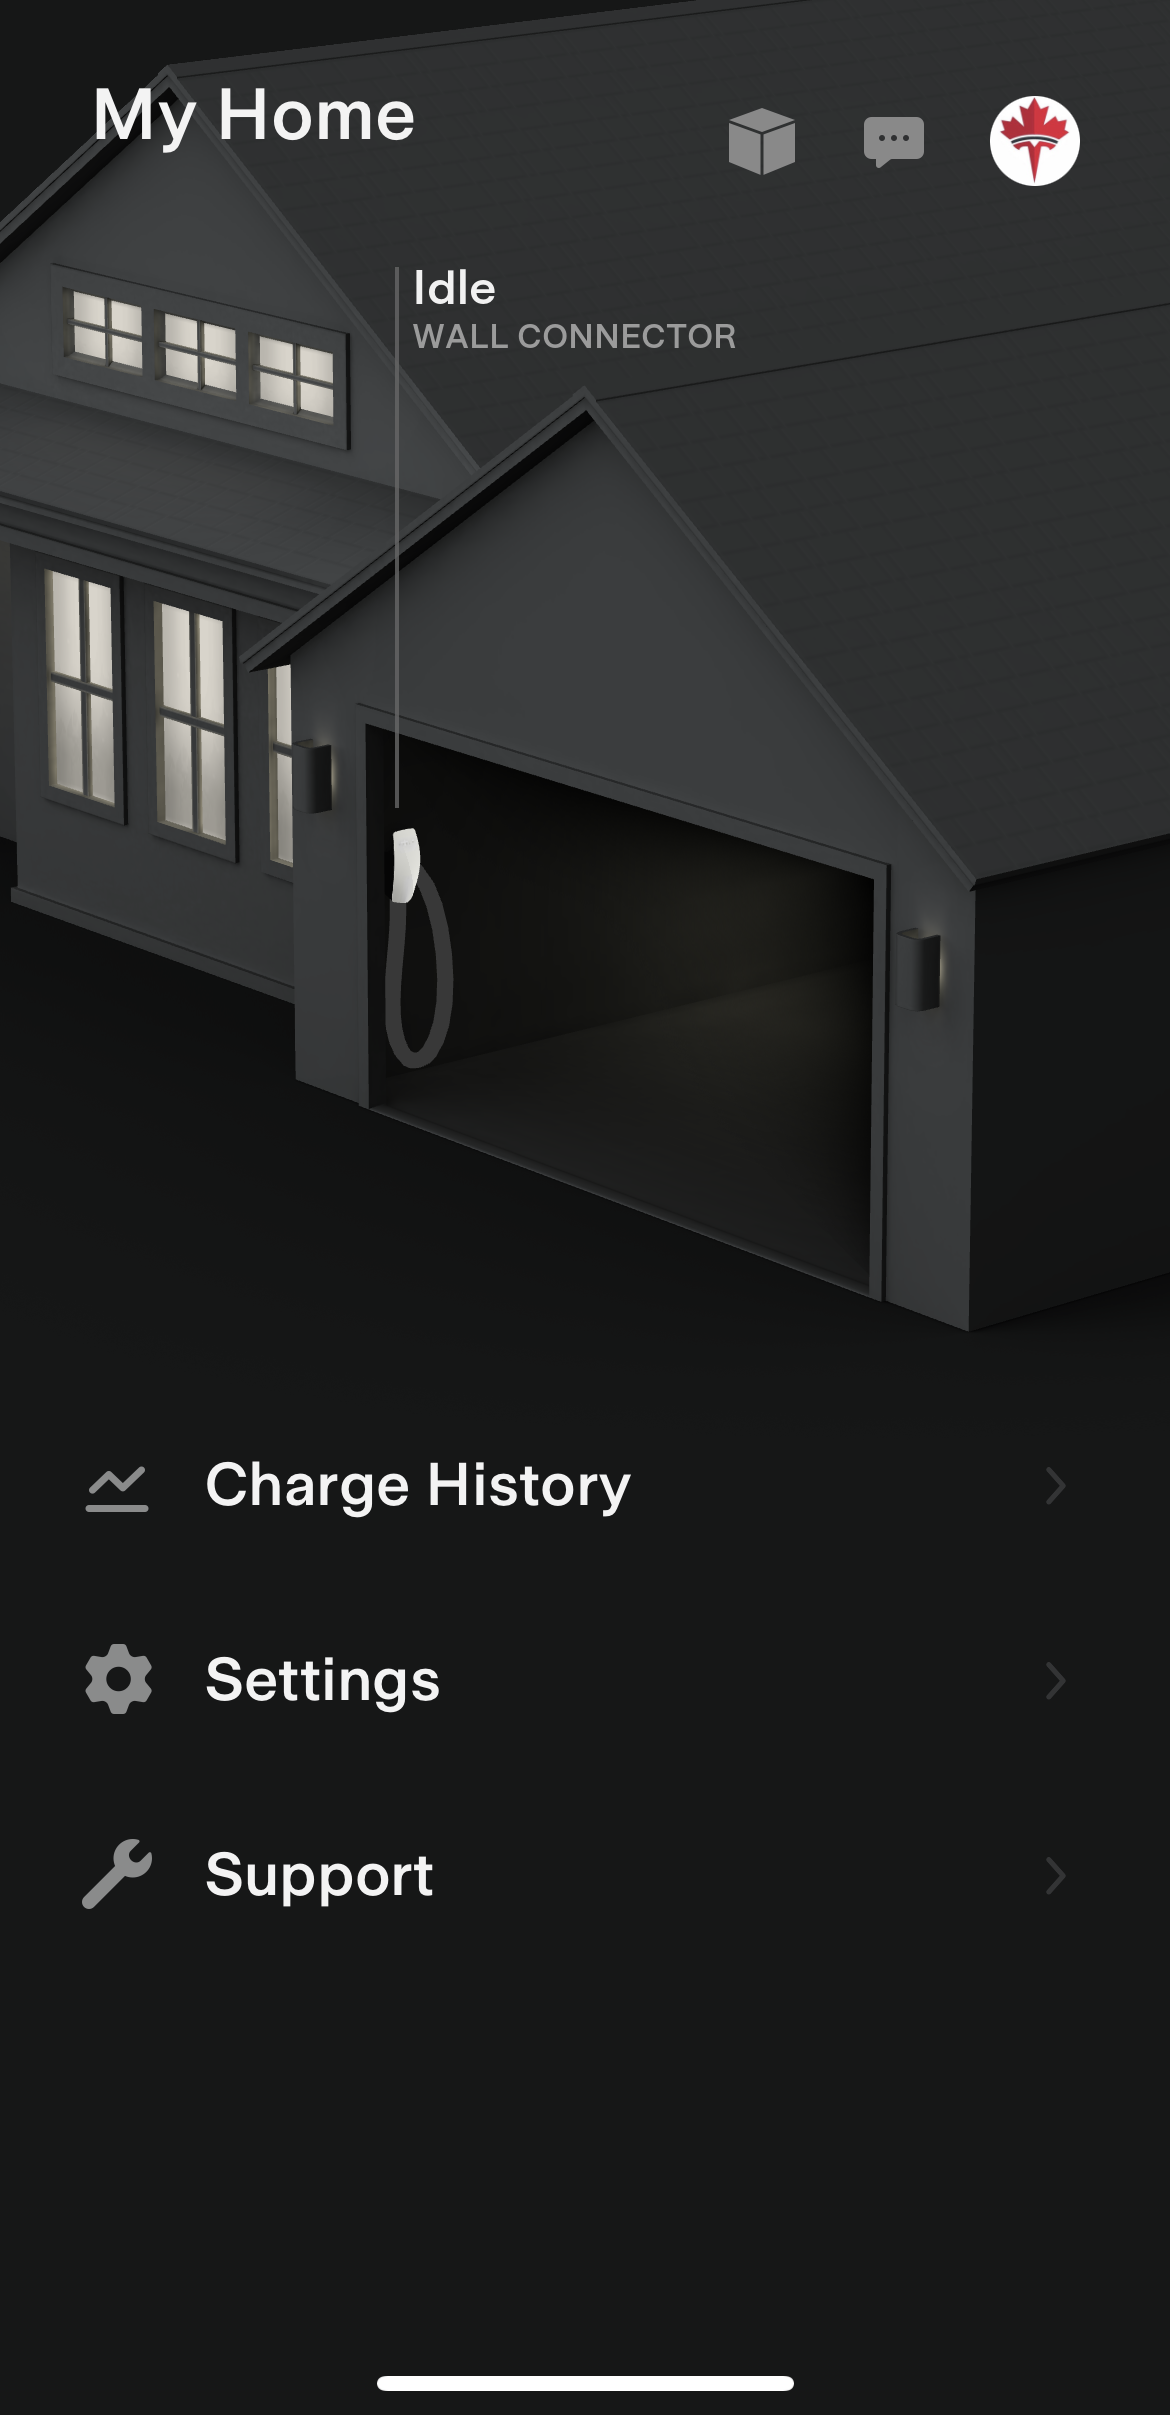
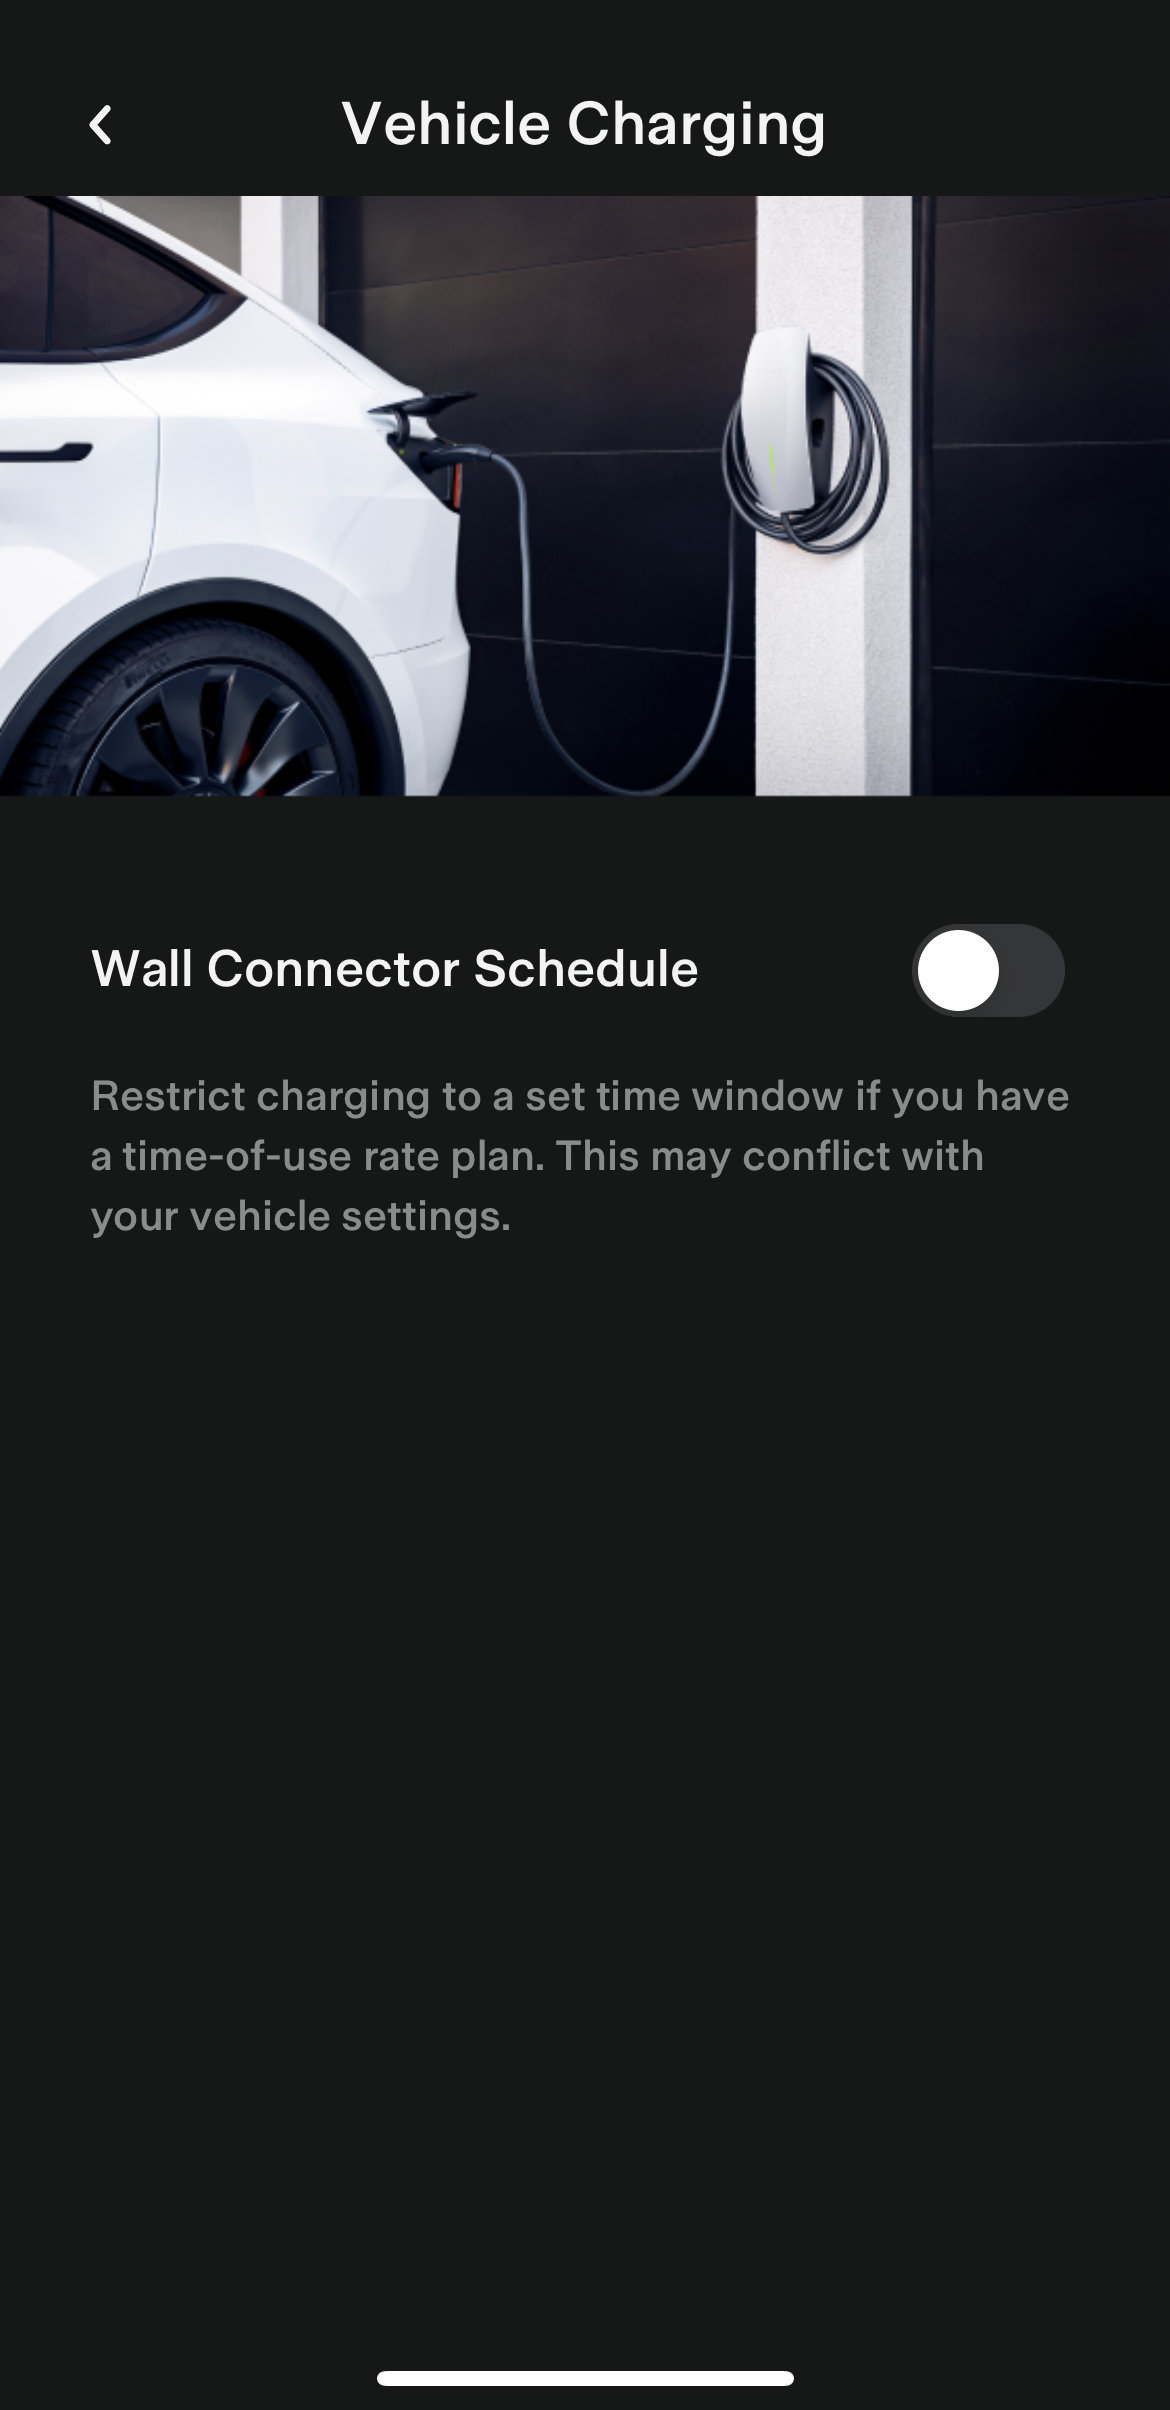
Once you have it set up in your mobile app (instructions on how to do this is below), your Wall Connector appears as a card alongside your vehicle(s). From there you will be able to set a schedule to restrict charging to a certain time window. This is a good option if your local utility has time-of-use rates, and is separate from the in-vehicle ability to do the same, meaning you can restrict charging times to other EVs, not just your own Tesla.
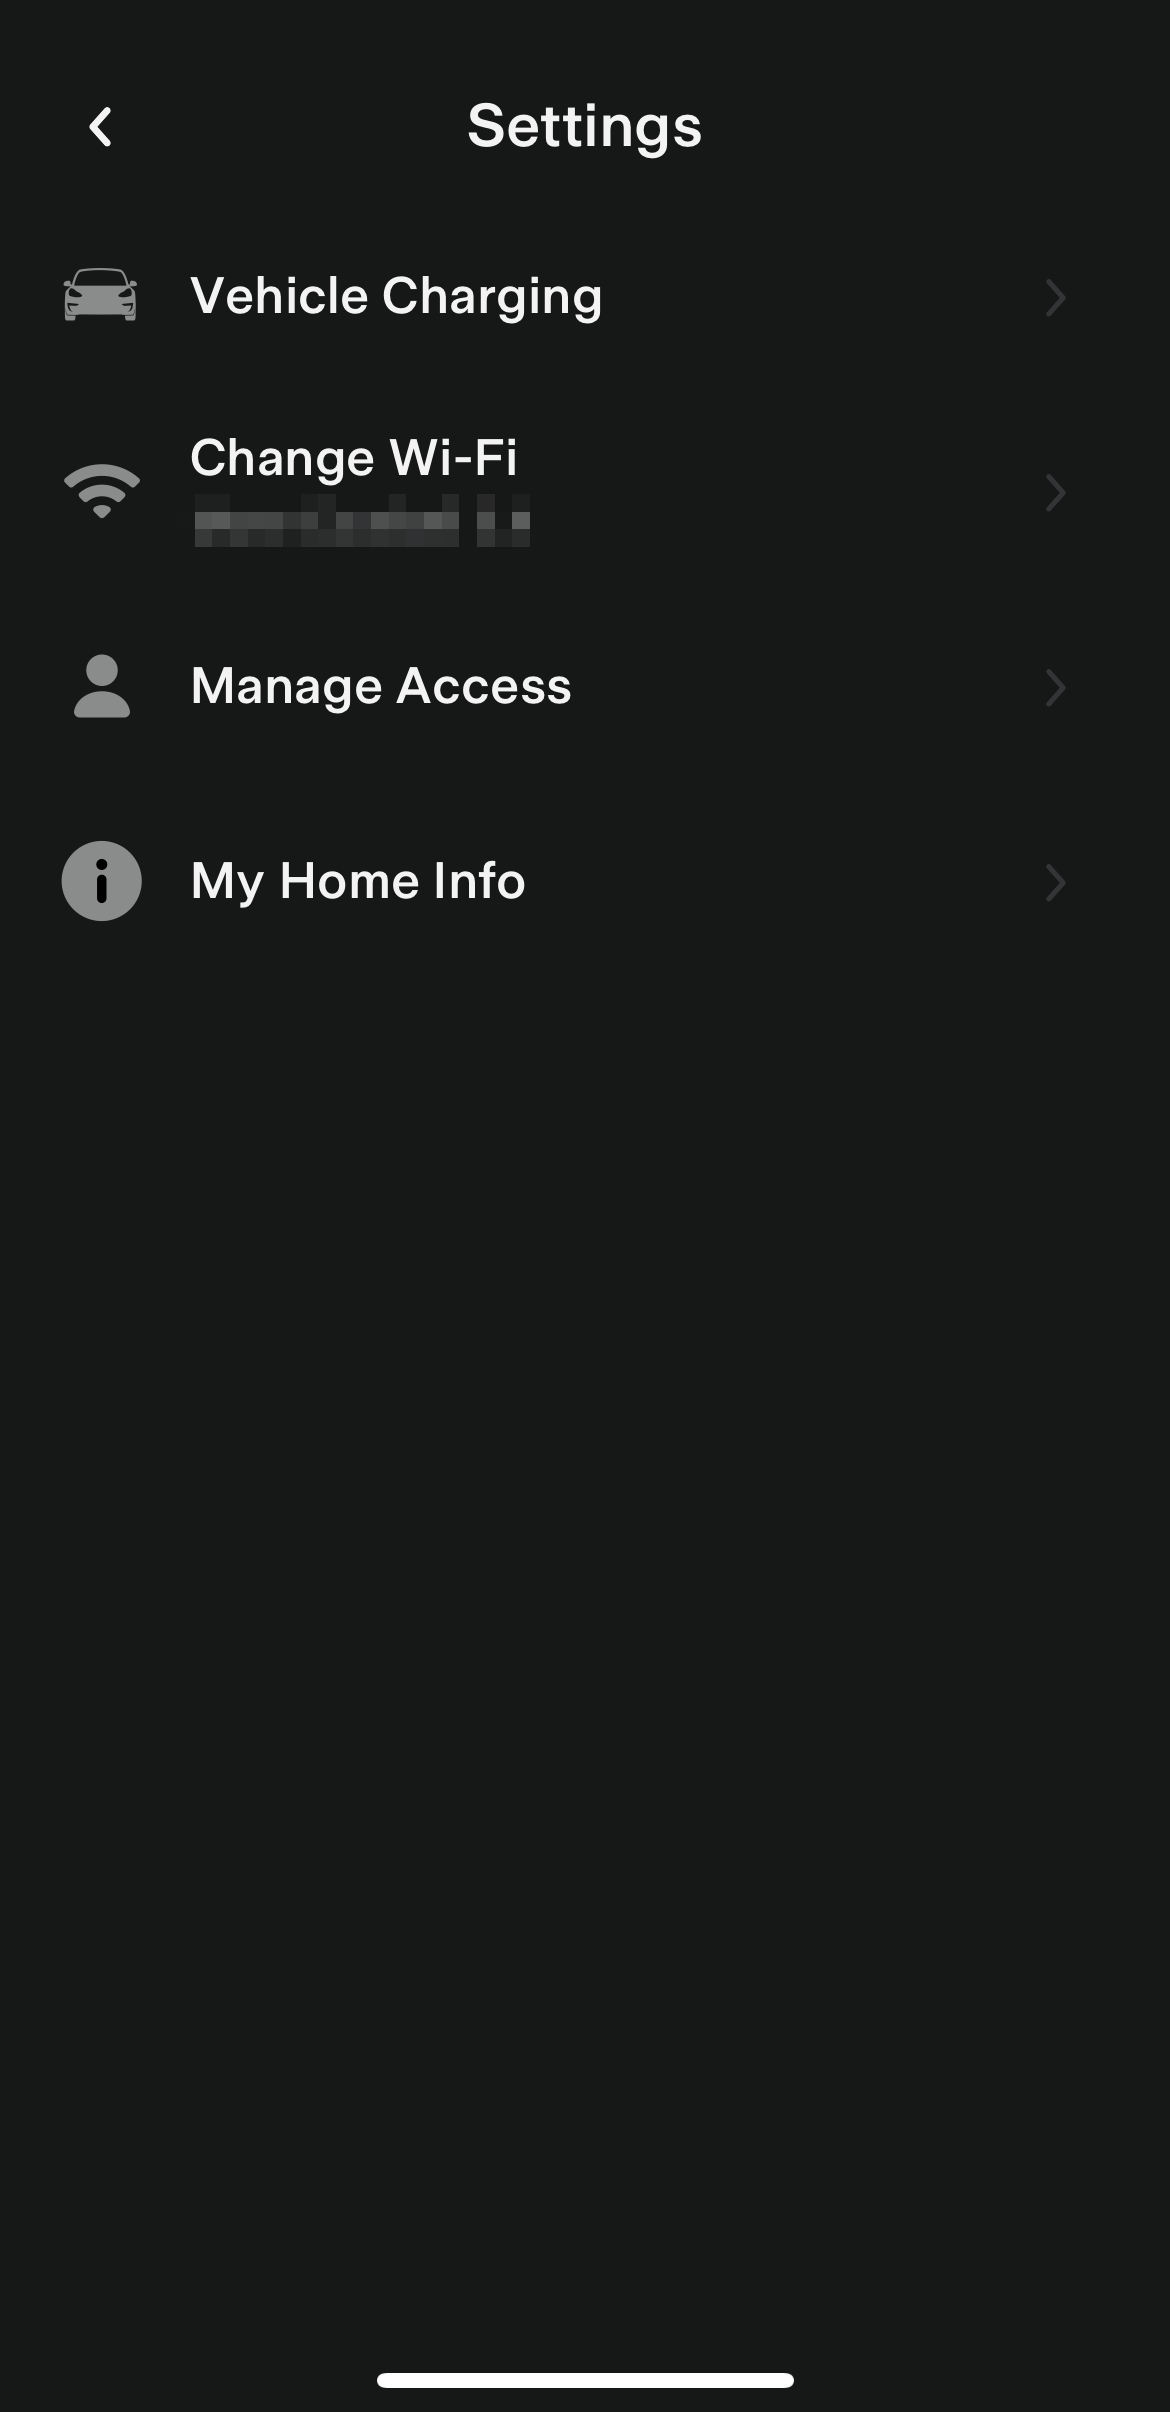
By connecting your Wall Connector to the mobile app you can also install the latest firmware, ensuring you stay up to date with the latest features and enhancements. You can also share access to your ‘Tesla Energy Site,’ which adds and provides all of the same information and controls you see in your app to another person.
You can also review a detailed log of all of your charging sessions, including information on the charging start time, how long the charging session lasted, and how much energy (kWh) was added to your vehicle. This information can also be exported from the app in .csv format. Unfortunately it only starts tracking this information once you have it set up, but according to the exported file name (previous_12_month_charge_sessions.csv) it will track charging sessions for a rolling 12 month period.
How to add your Wall Connector to the mobile app
The process to add your Wall Connector is straightforward, but will require some information that you may no longer have, in which case you will have to remove your Wall Connector from the wall to get it.
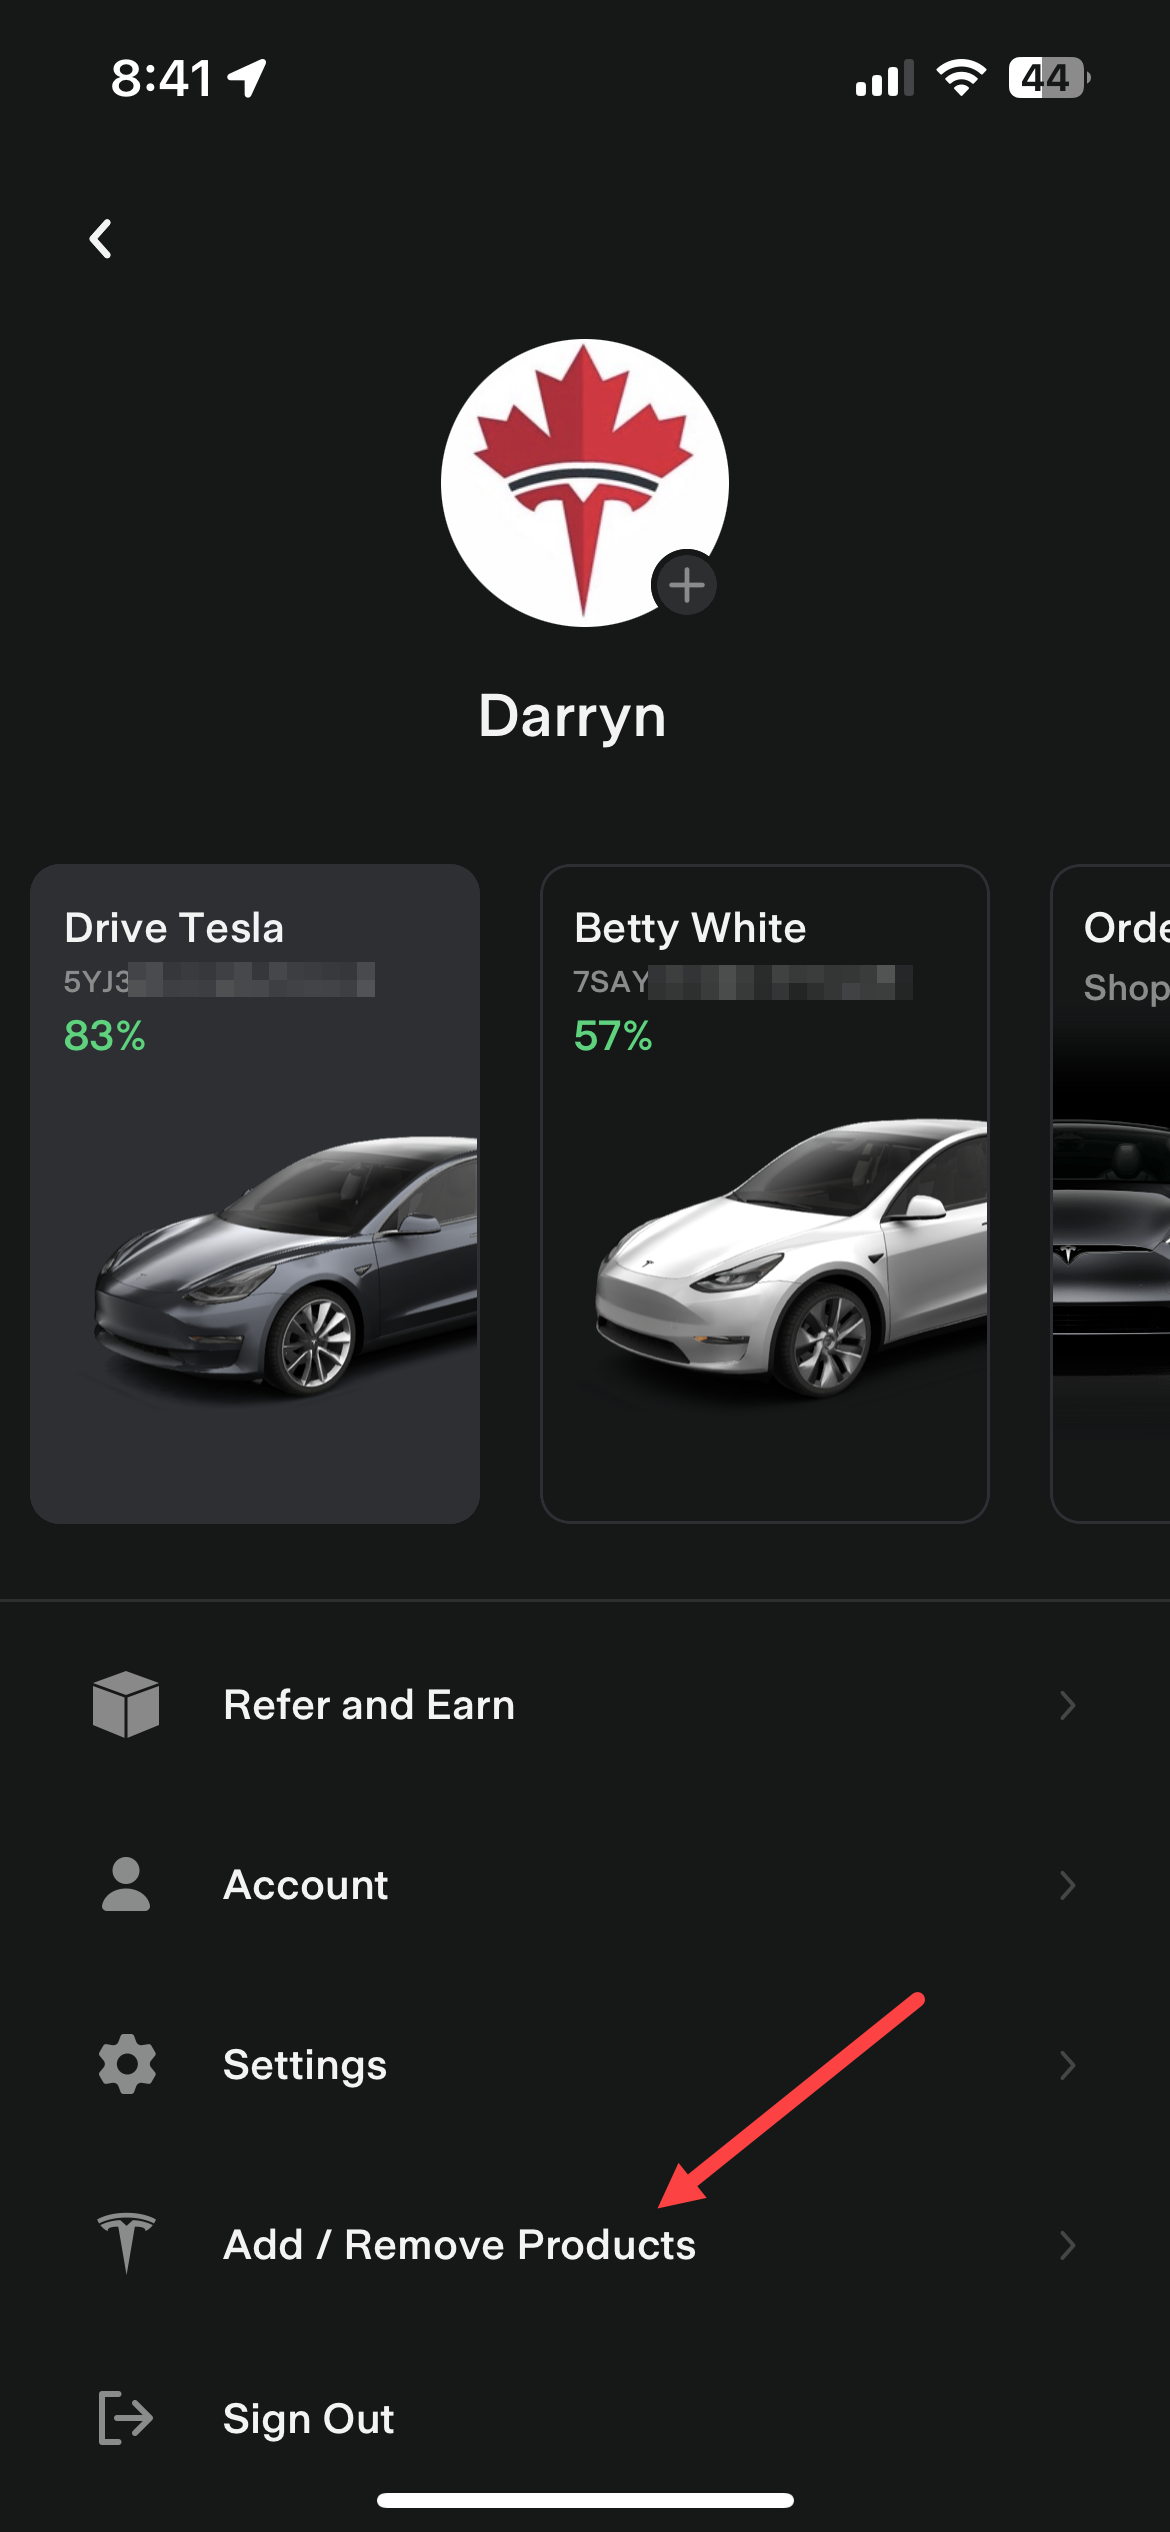
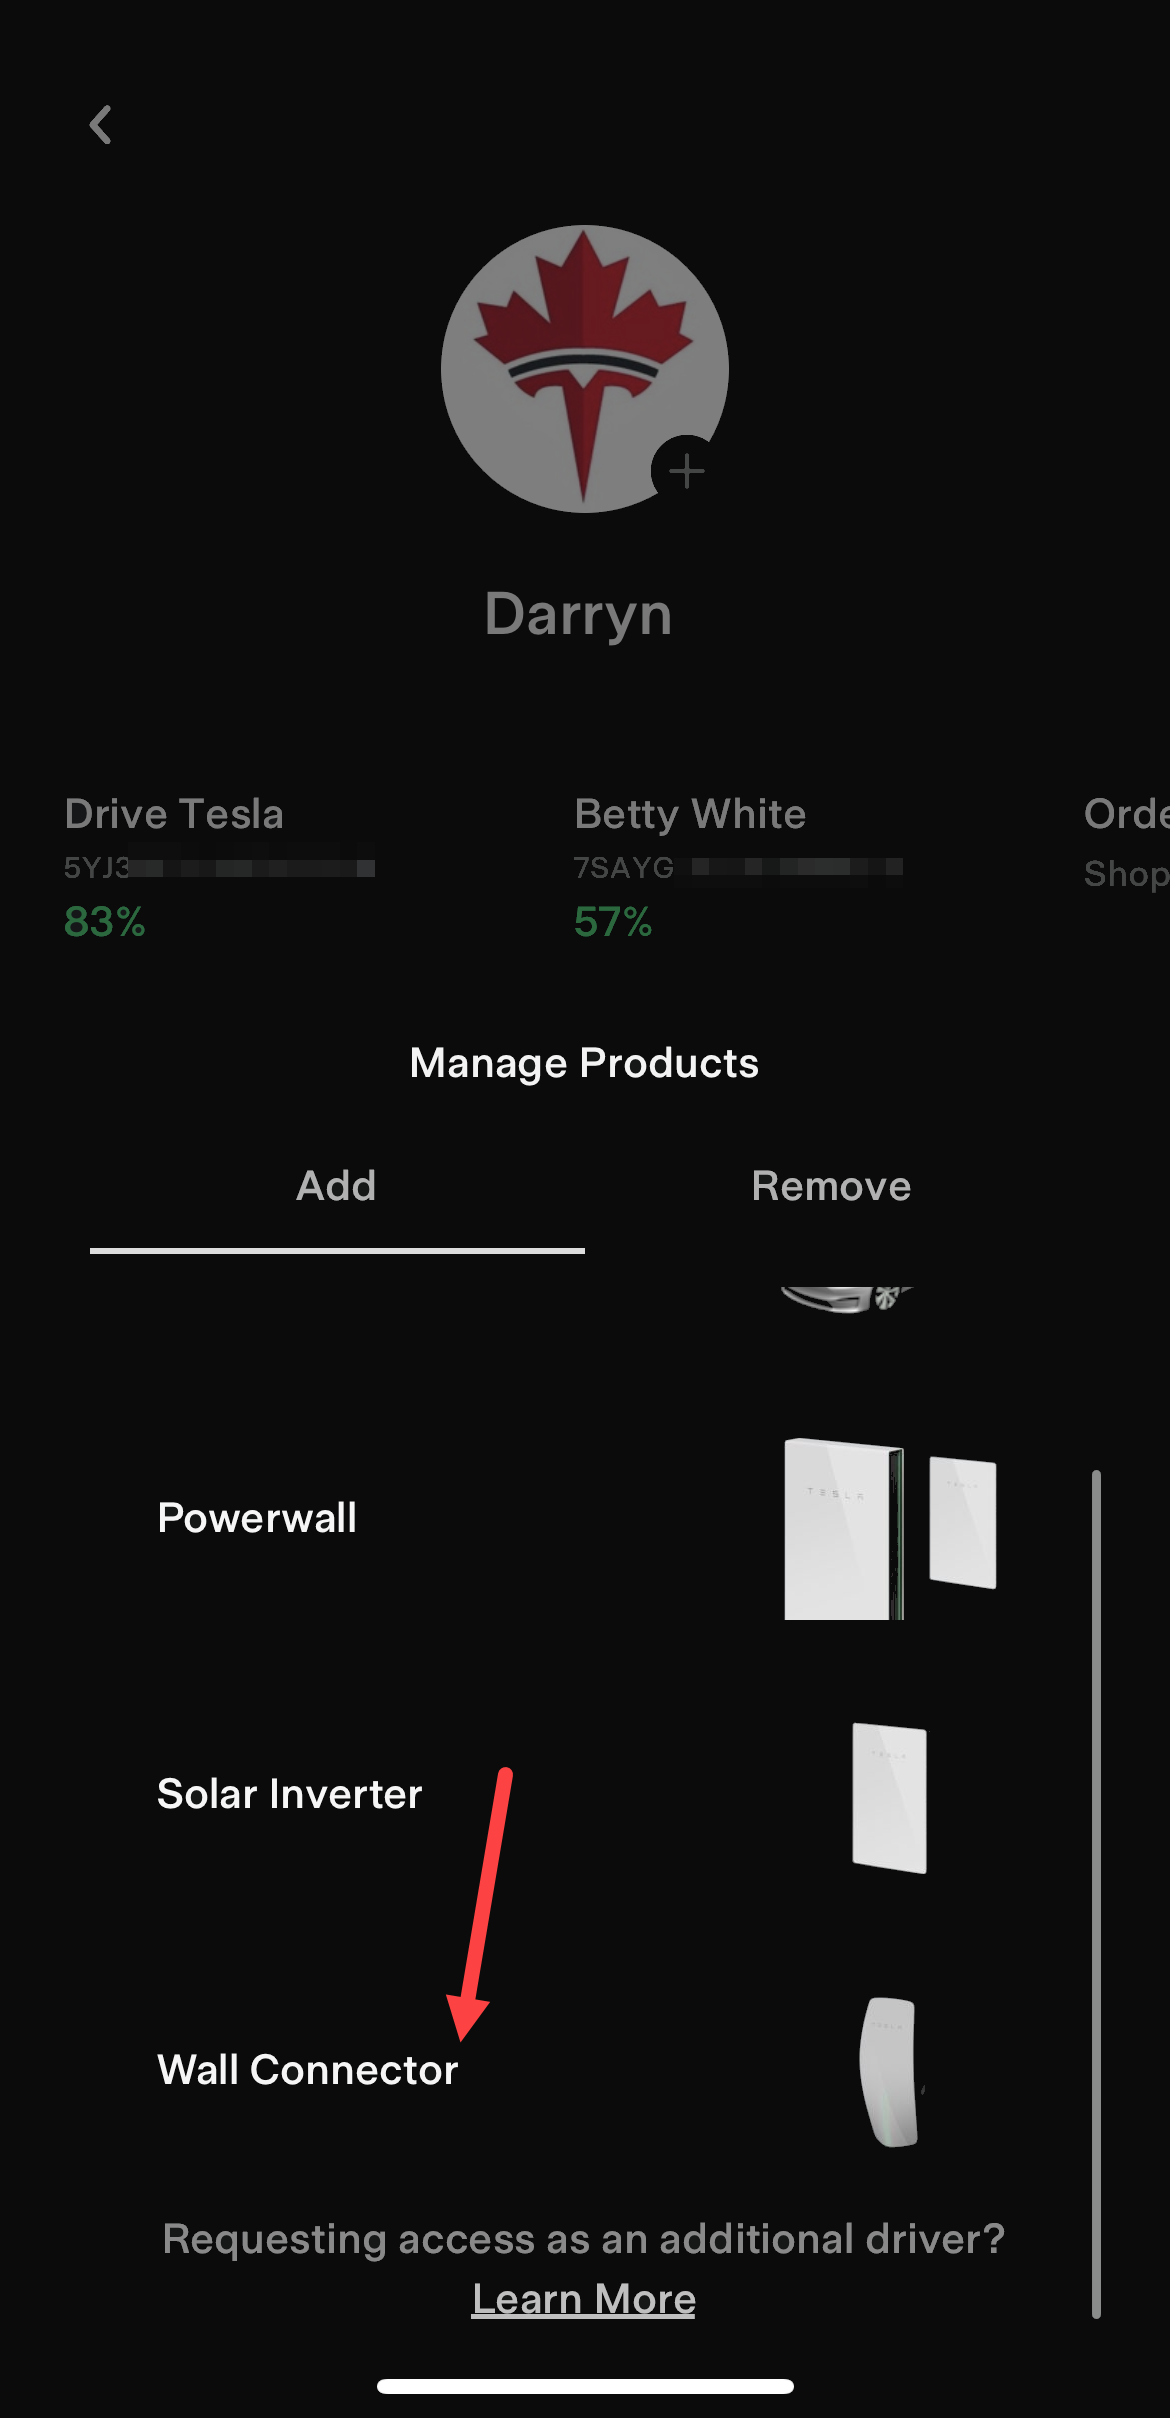
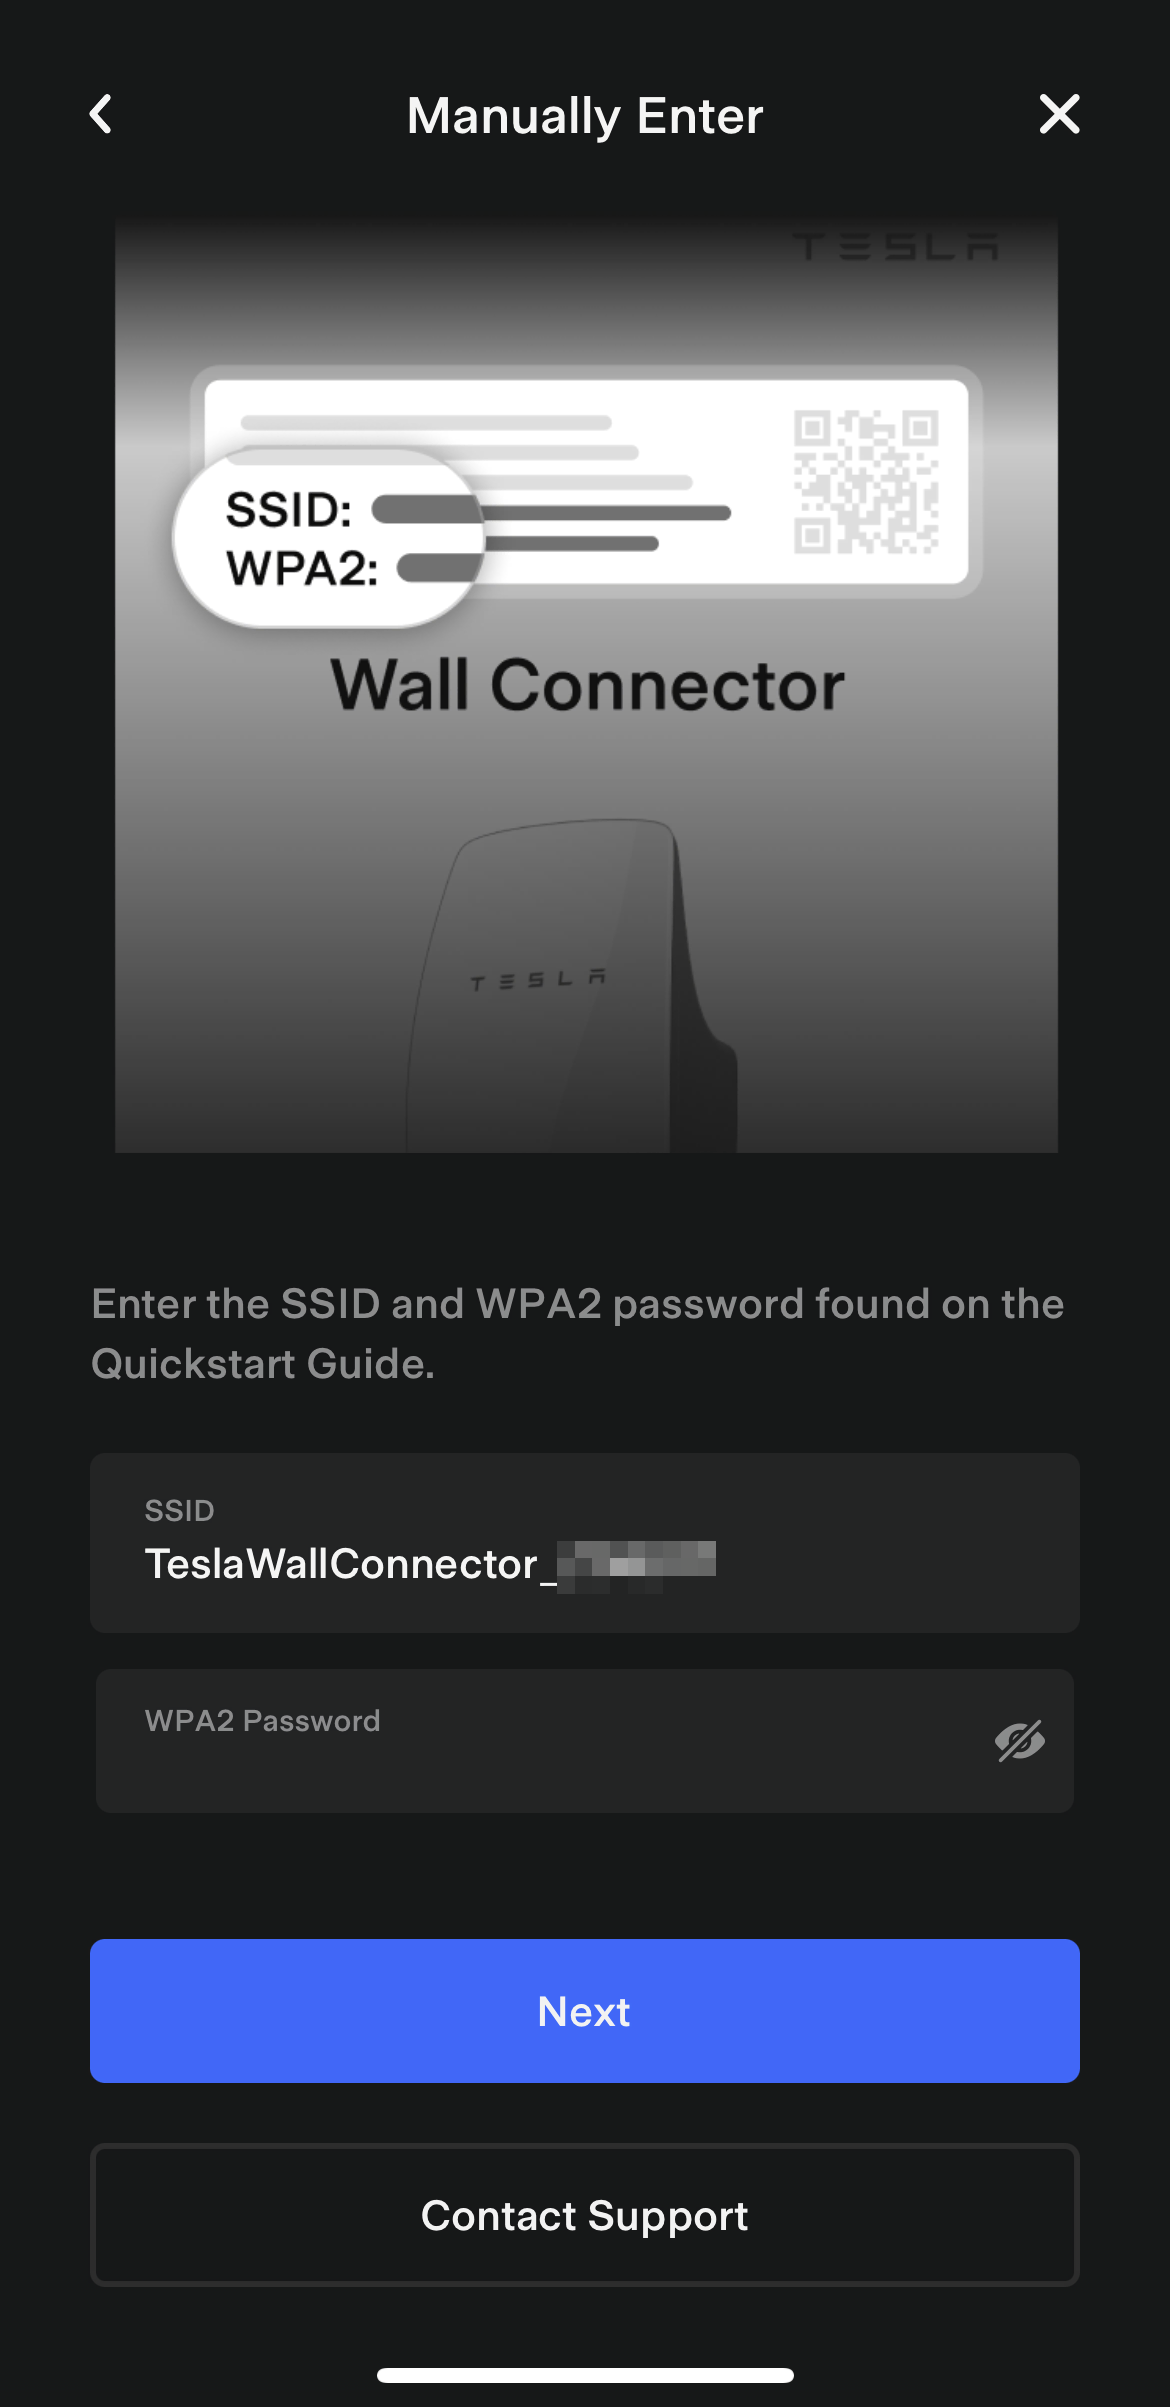
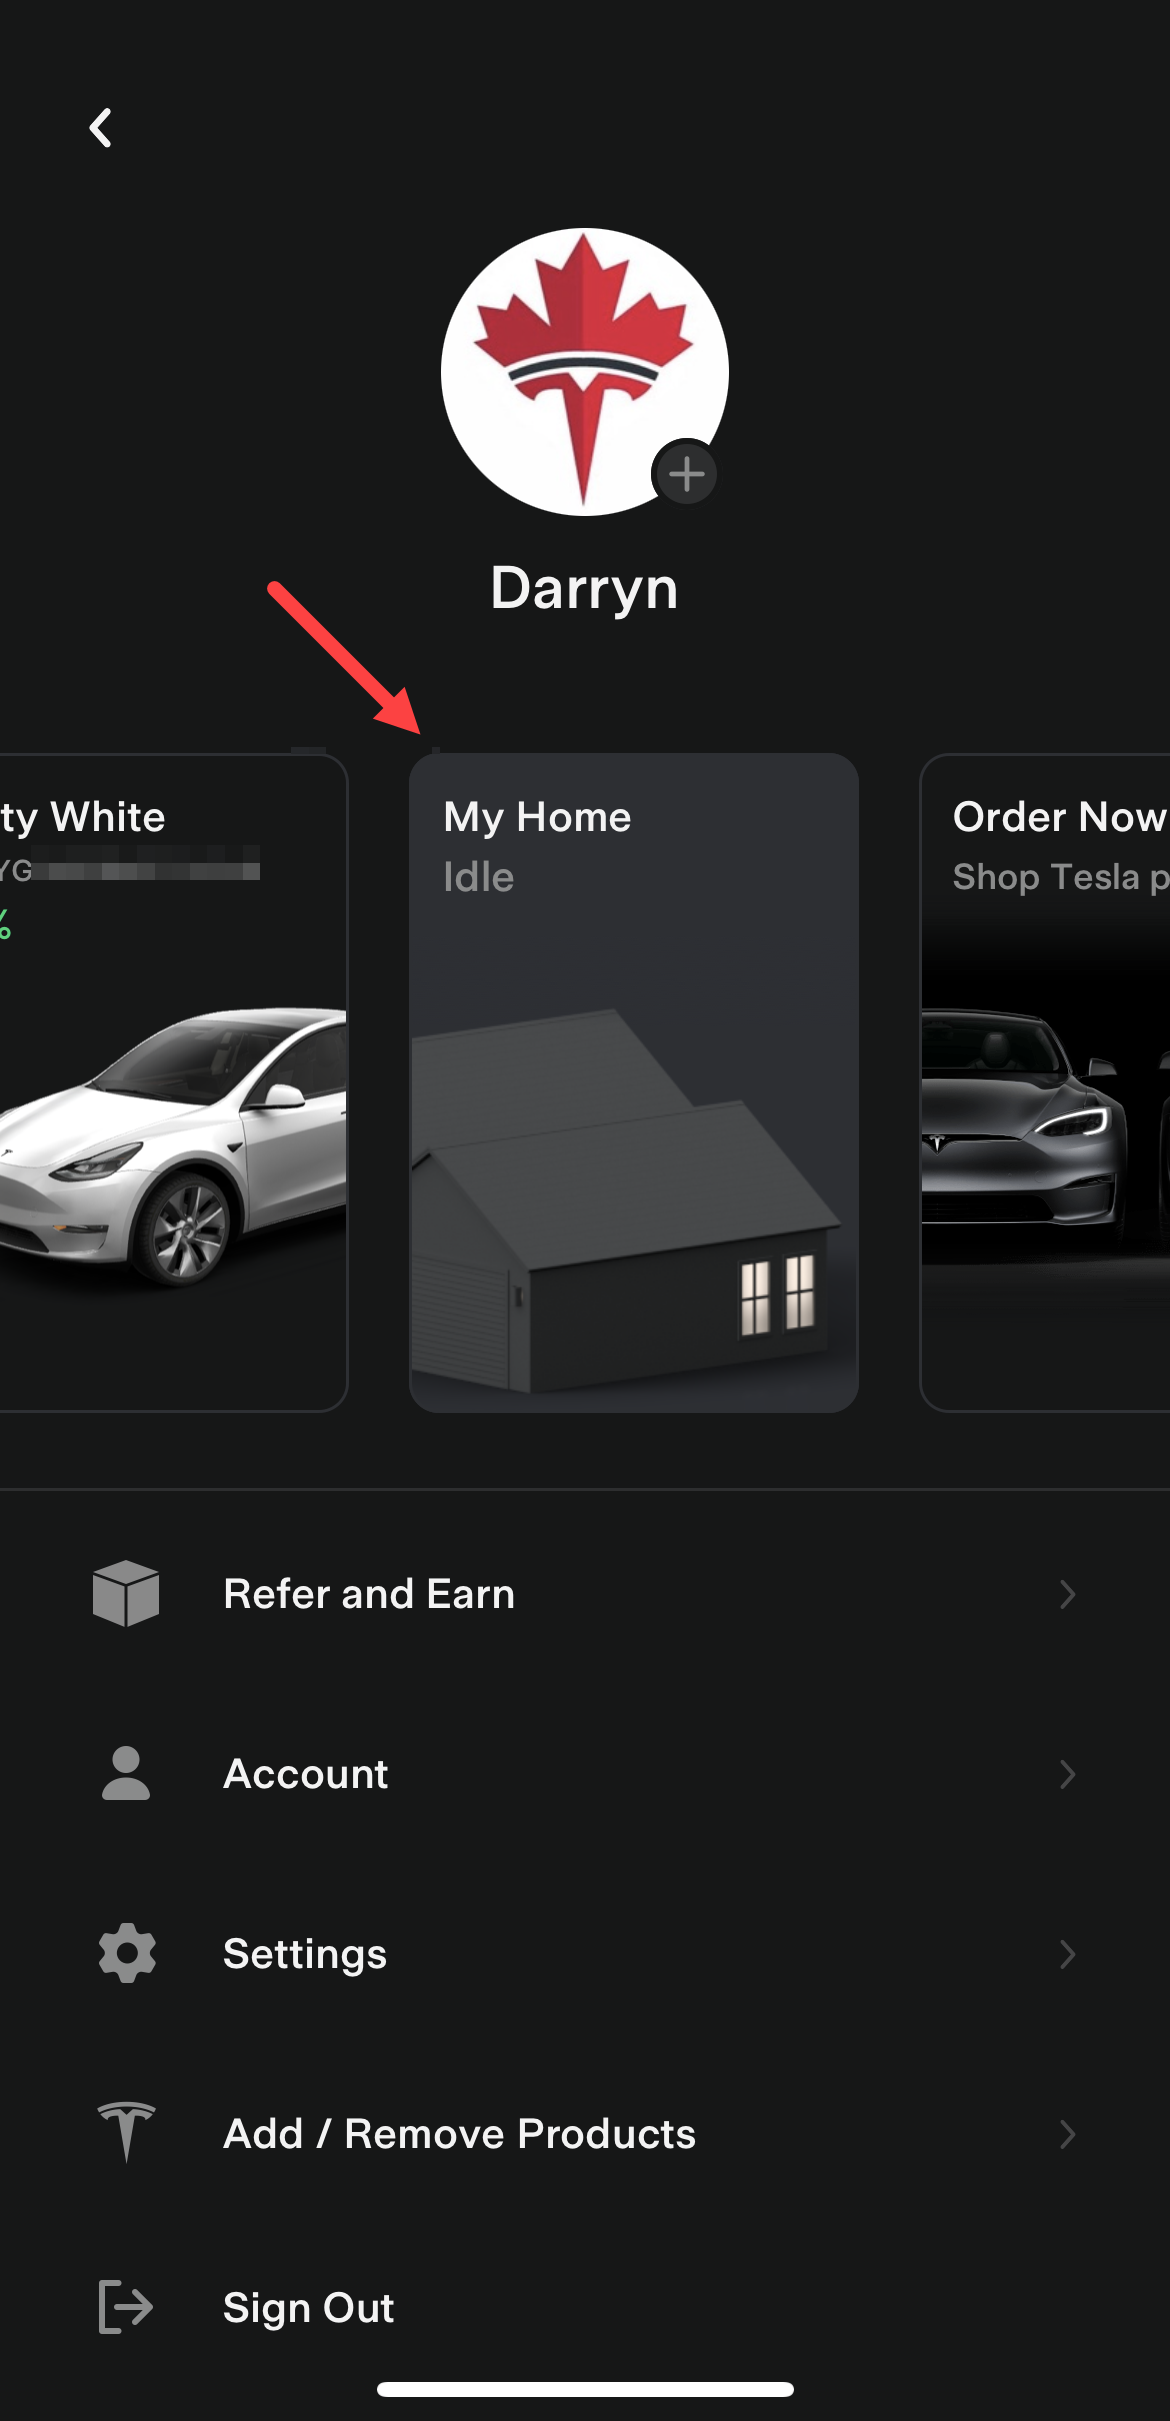
Step 1: Tap on your account icon in the top right corner, then tap Add/Remove products, add select Wall Connector. From there you will be prompted to enter your Wall Connector’s SSID and WPA2 password. This information is printed on the Quickstart Guide that comes with your Wall Connector, or you can scan the QR code on the front of the pamphlet. If you no longer have this Tesla says to contact support, but if you are comfortable enough you can remove the Wall Connector from the wall, where you will find this information printed on the back side of the unit itself.
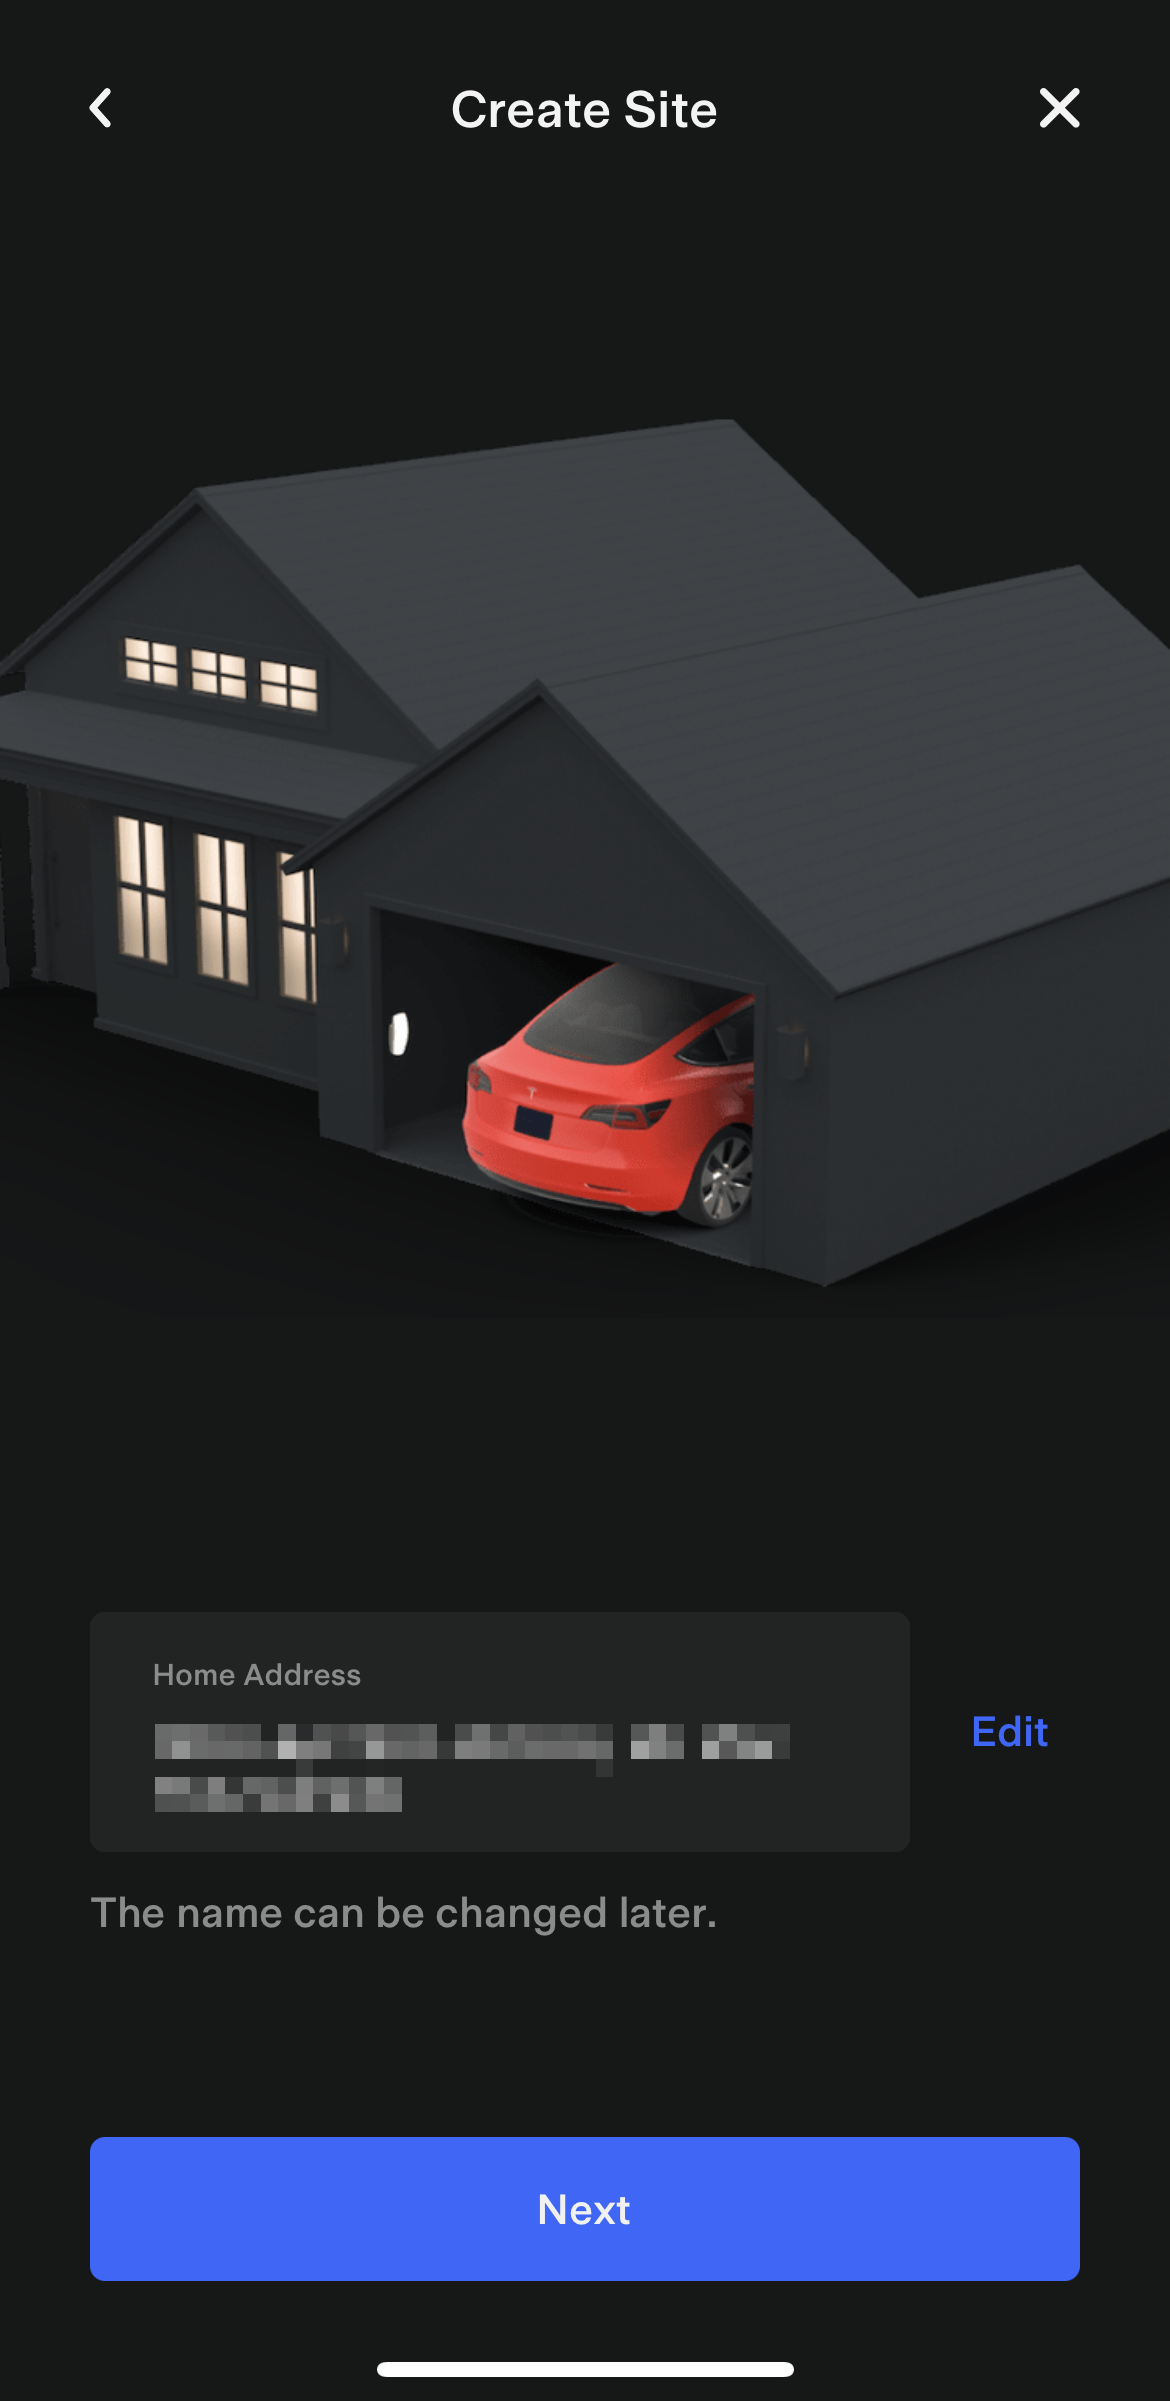
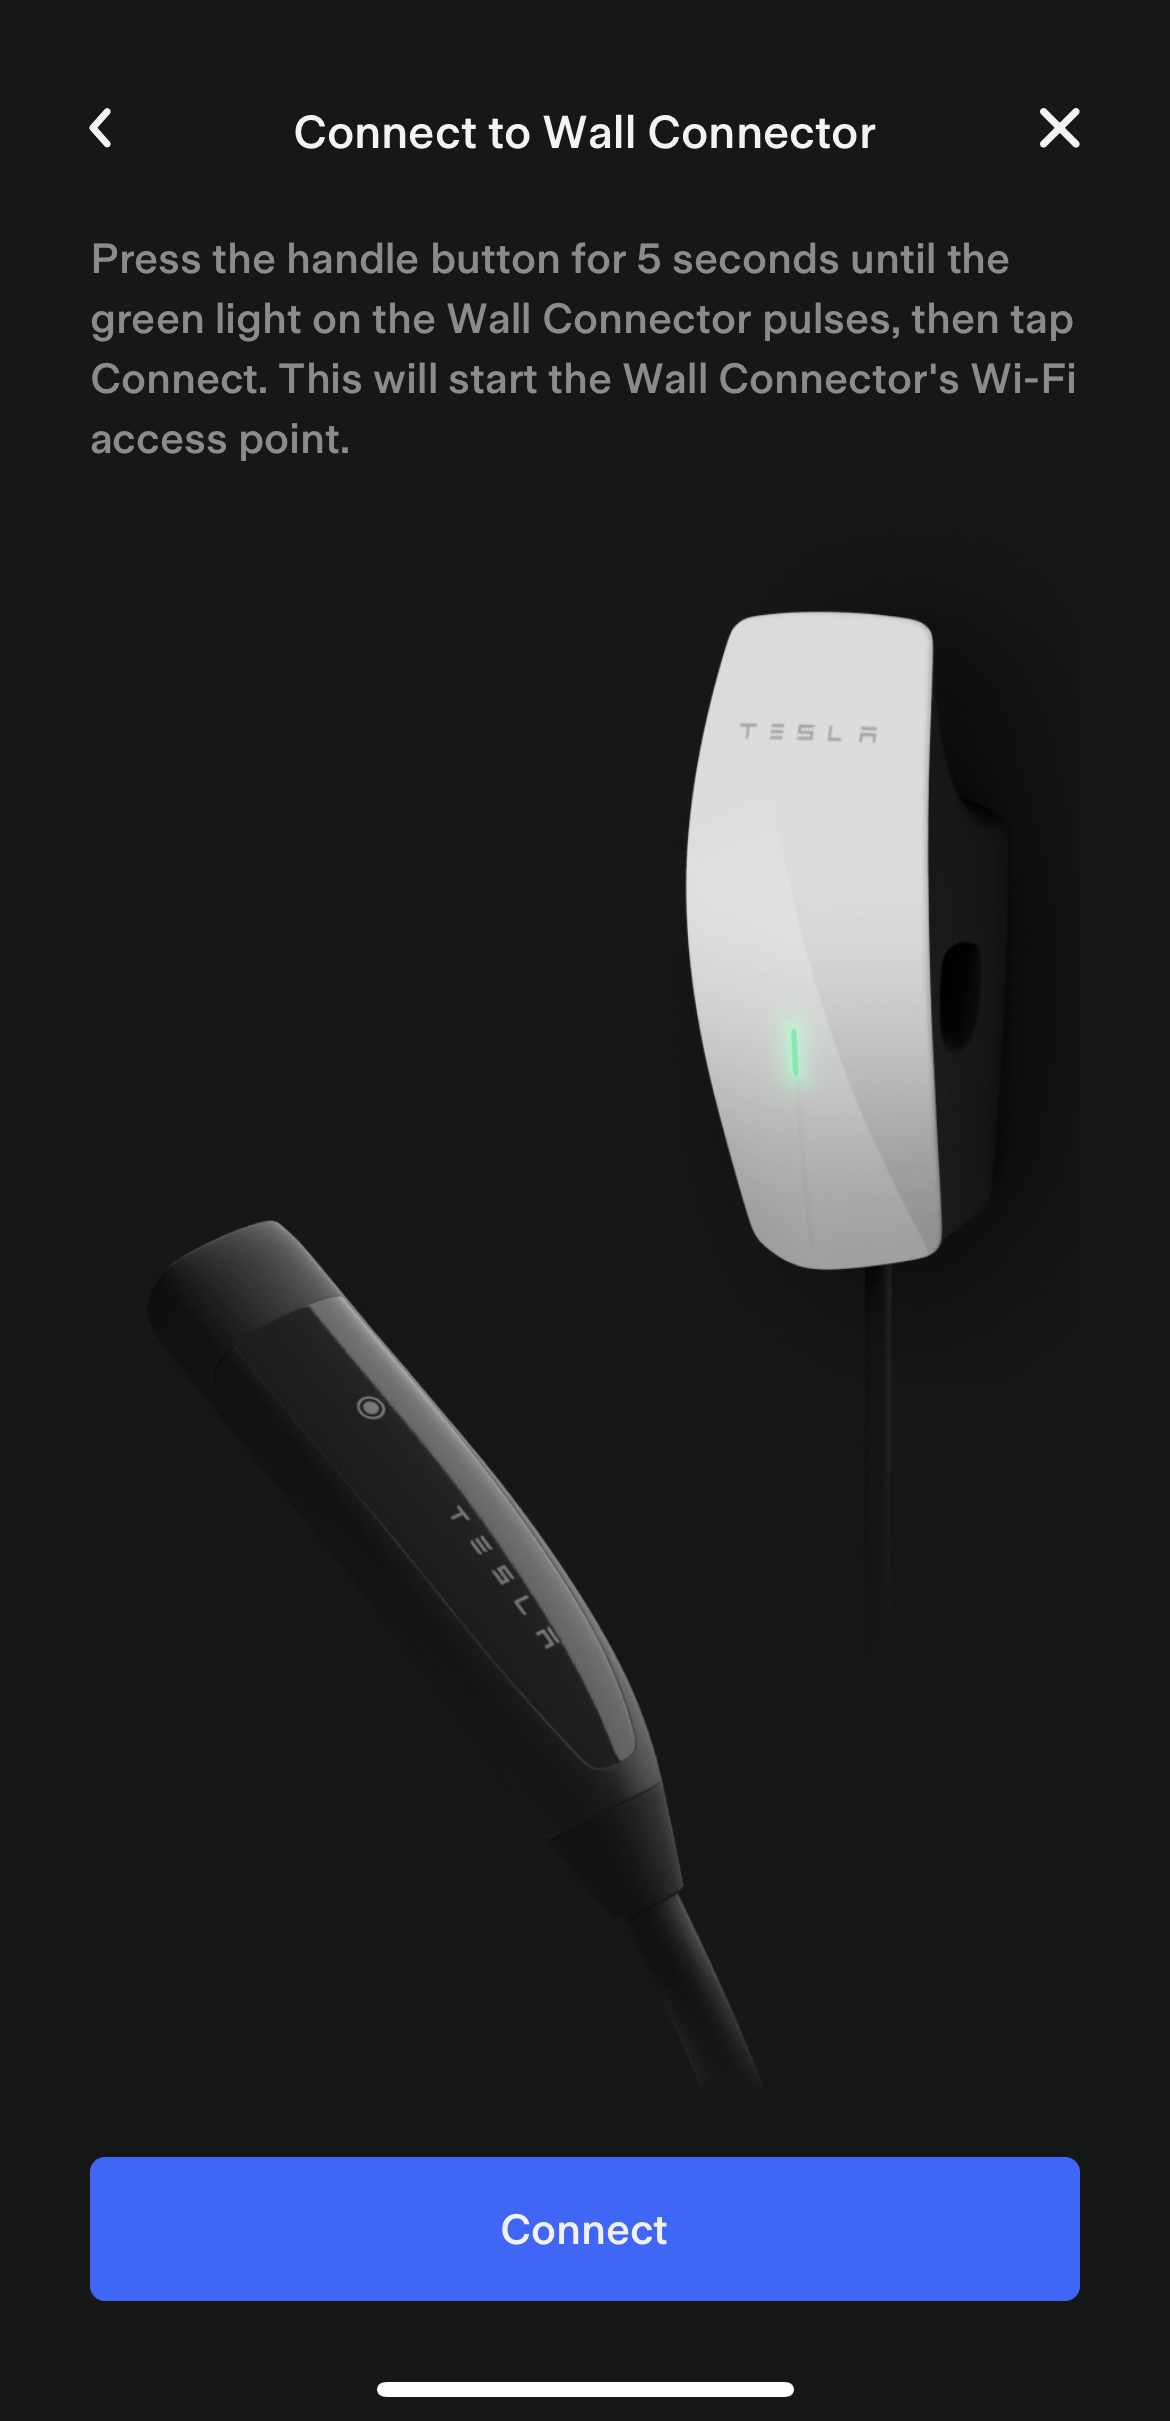
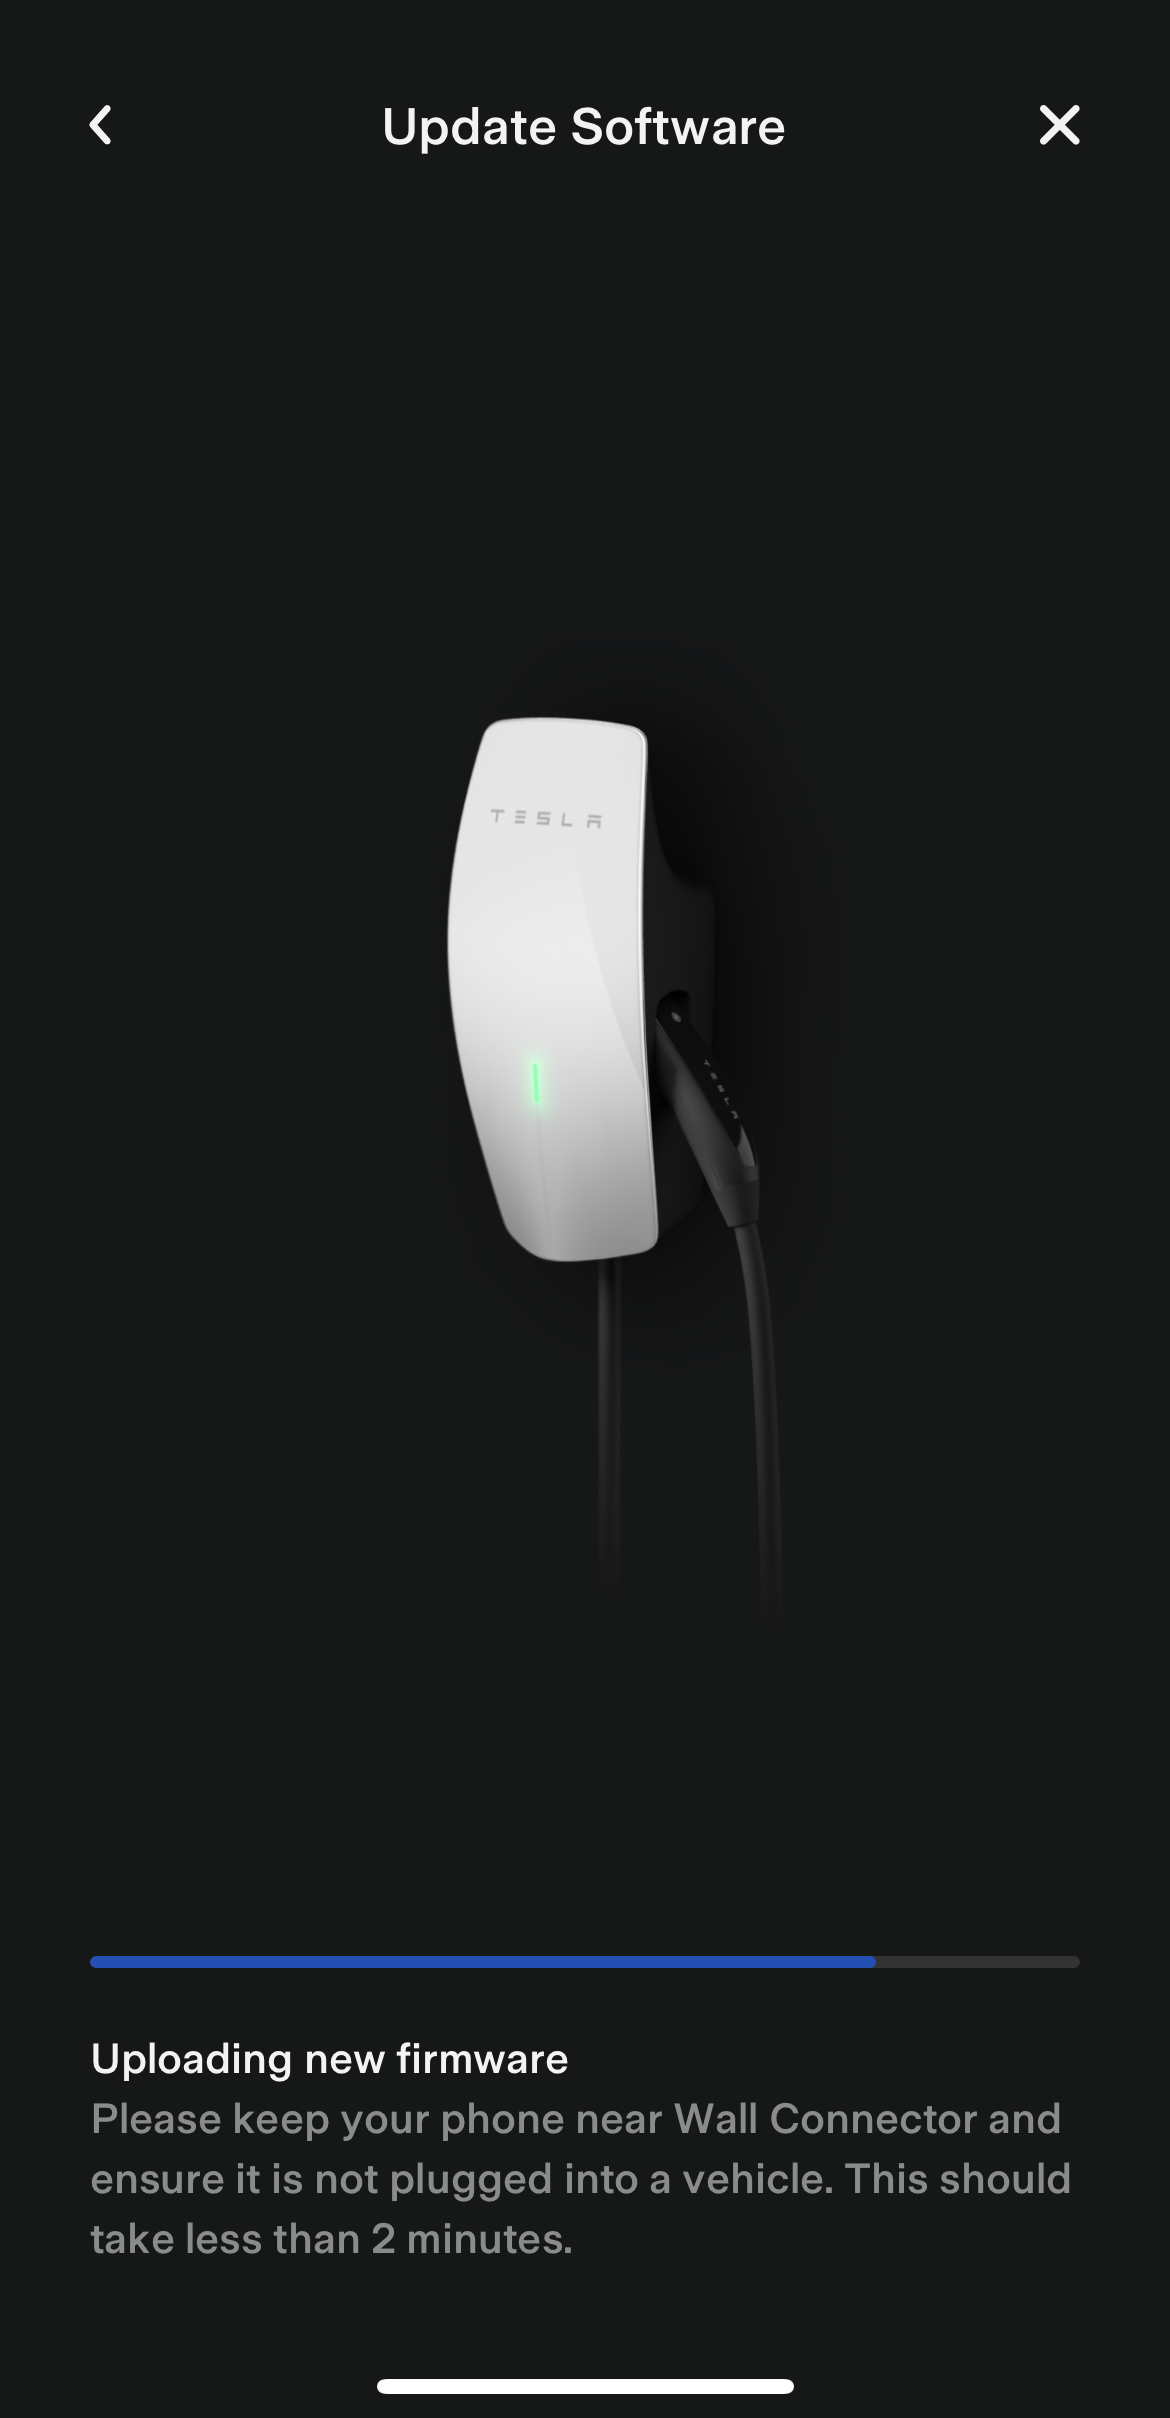
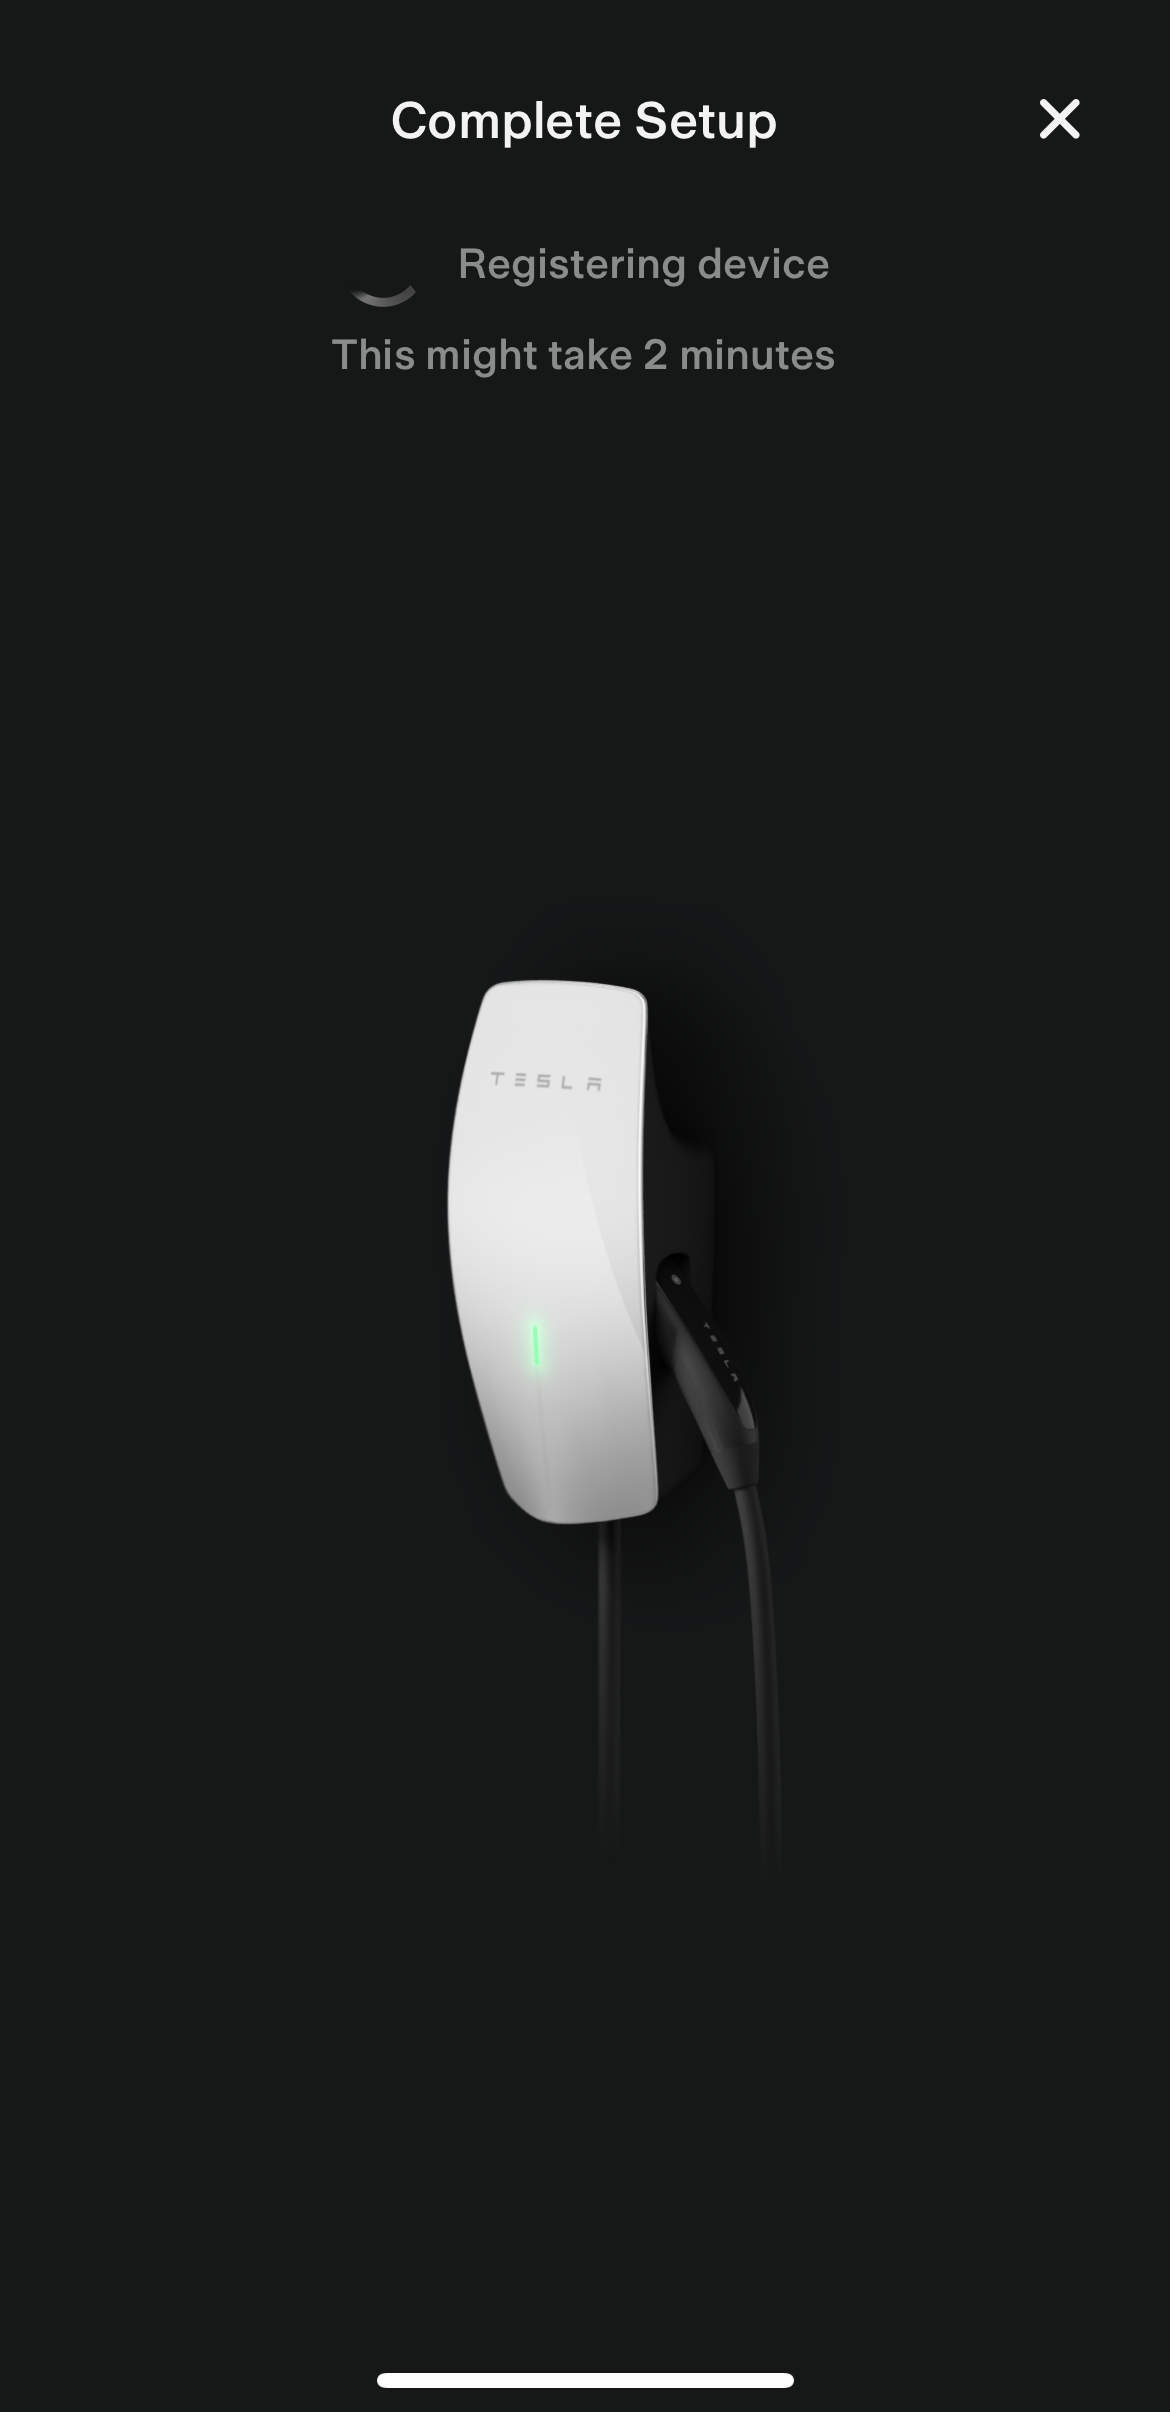
Step 2: After inputting that information you will be prompted to create a site, essentially identifying where the Wall Connector is located, which in the majority of cases will be your home. After that, you will need to connect the Wall Connector to the app by pressing the button on the charging handle for 5 seconds, after which the green light on the unit will pulse. Once it does, you tap ‘Connect’ on the screen of your mobile device, and then the software will update automatically if required.
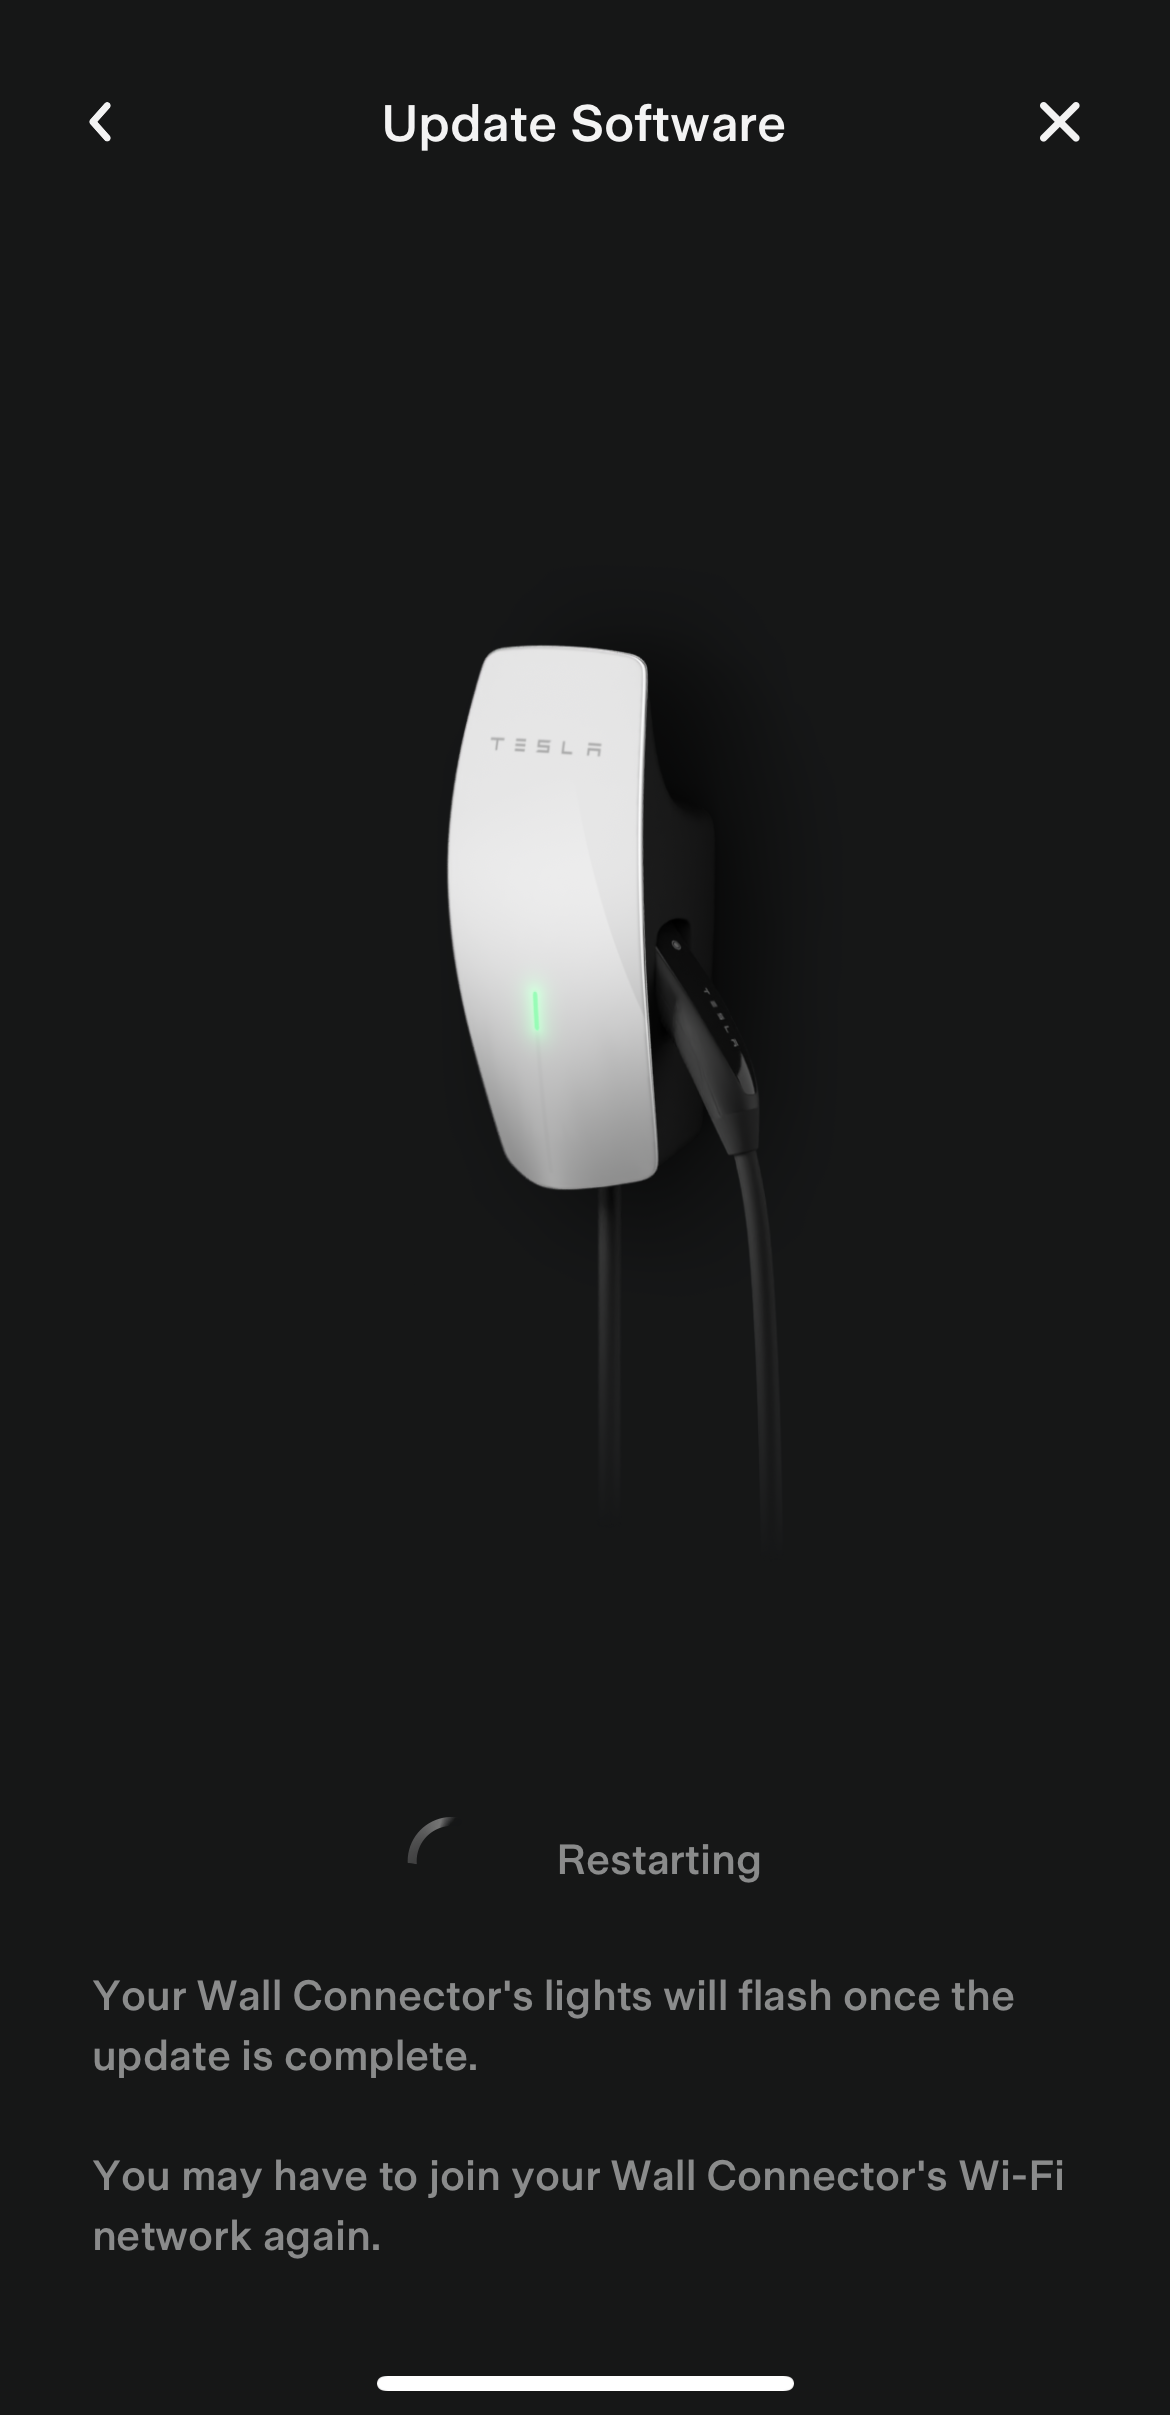
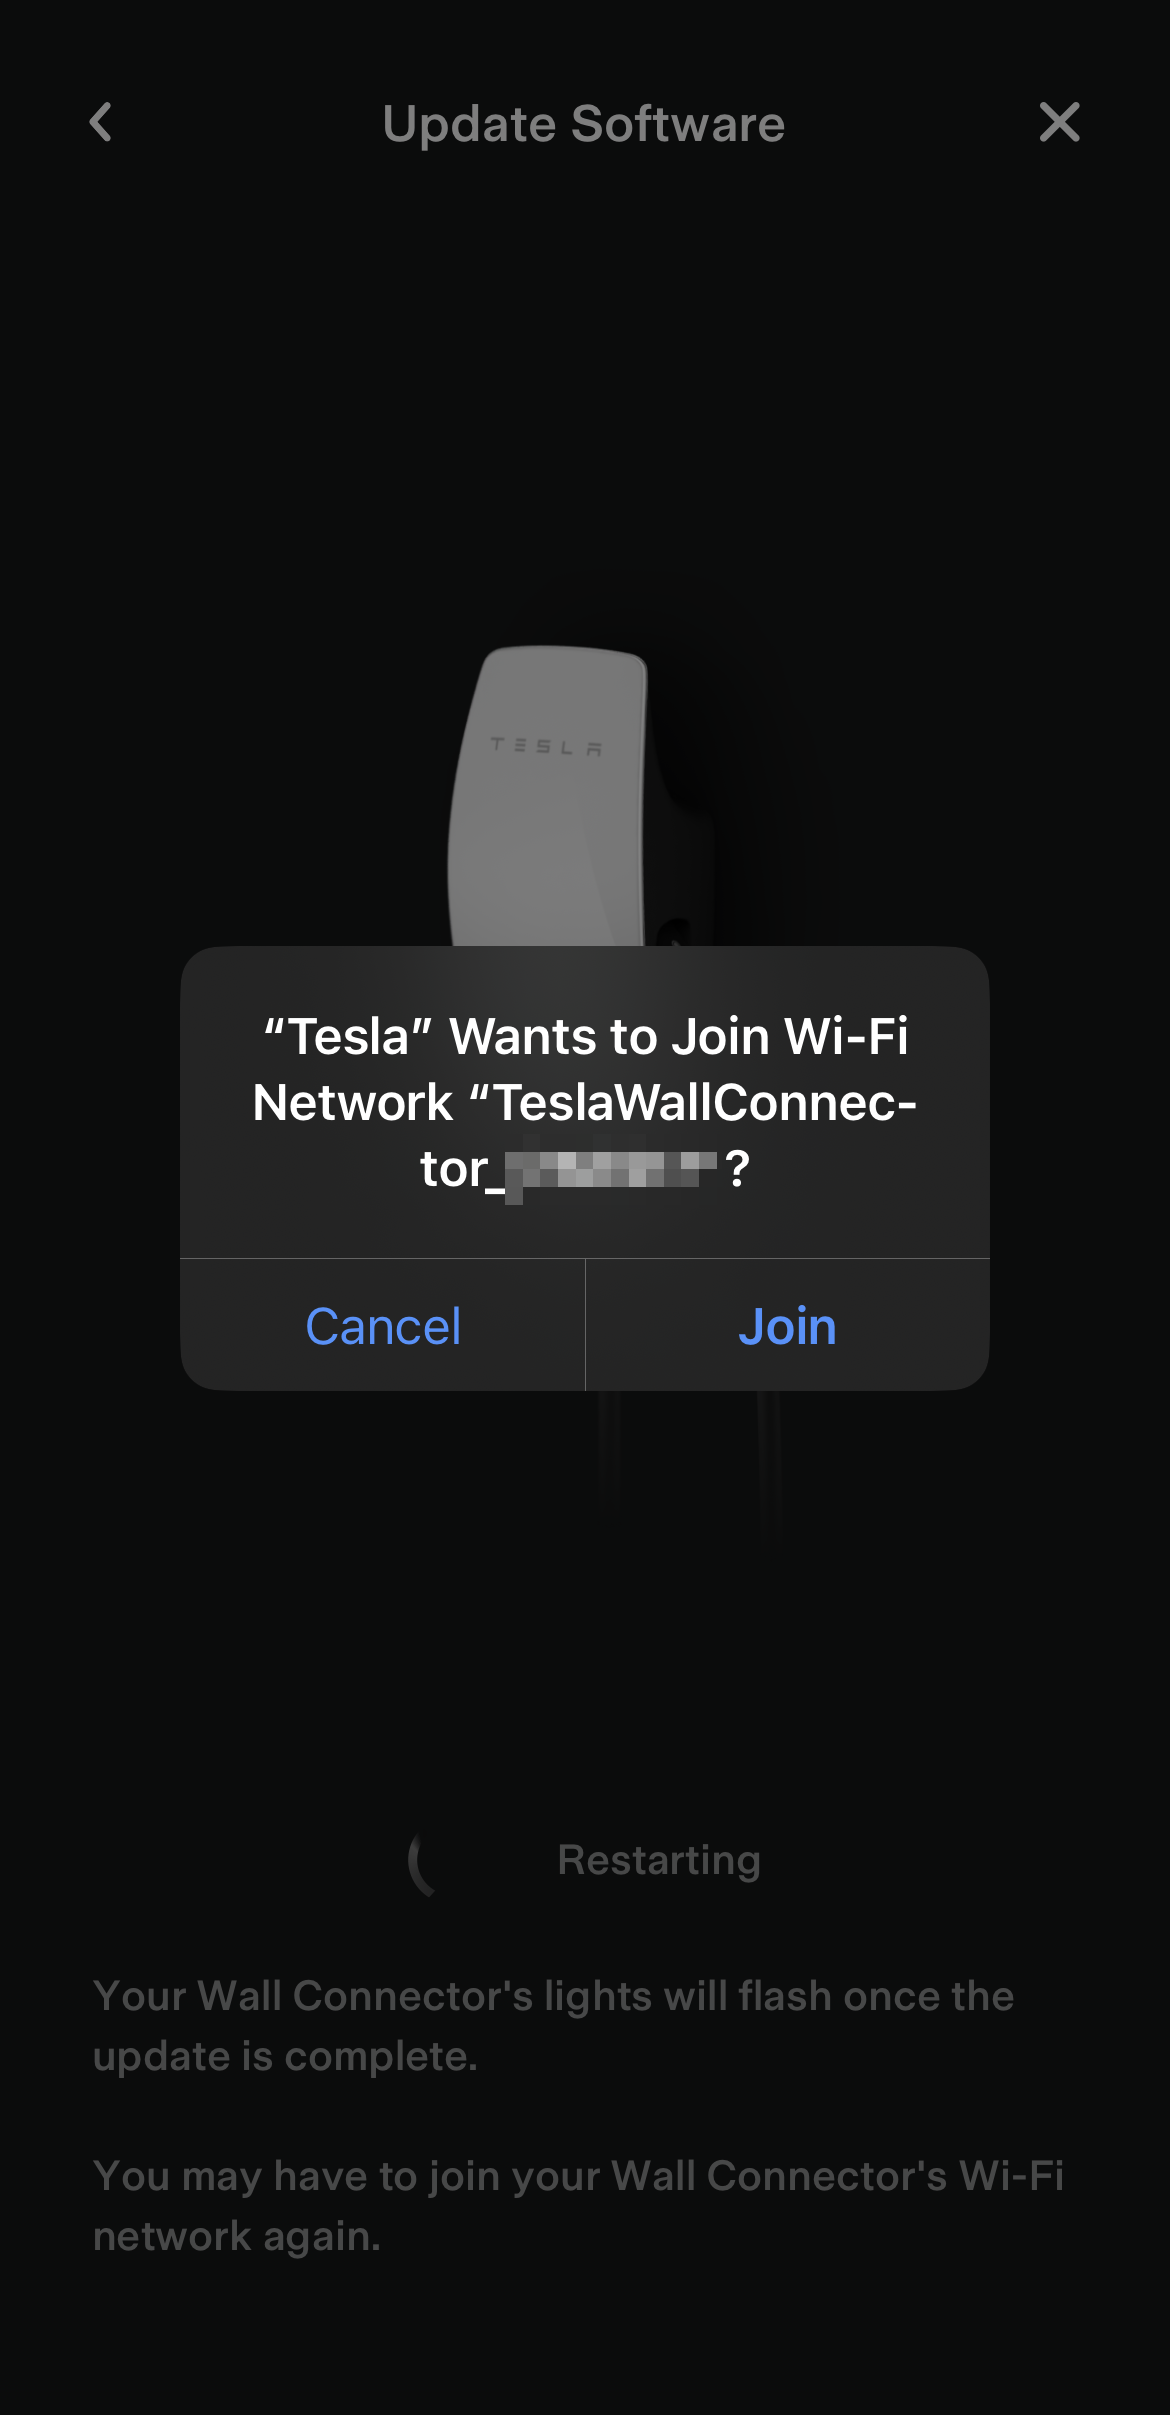
Step 3: After the update is completed the Wall Connector will restart automatically, and you will then be prompted to allow it to join Wi-Fi. Tap ‘Join’ and then the final step is registering your Wall Connector, which will also happen automatically.

Always get the latest - make Drive Tesla your preferred source on Google
Are you buying a Tesla? If you enjoy our content and we helped in your decision, use our referral link to get three months of Full Self-Driving (FSD).